Why is it important?
If one has a good knowledge of slicing software, they can reach a higher quality of the printed object. That naturally influences the general outlook of the one. Important aspect of the final print are the seams. They might spoil the effect of the design. The continuity of the print can be lost at start and end points of every layer. Hiding the seams is important in case of creating a prototype that is true to the final product as possible. Furthermore, it’s especially meaningful if you want to print the ready-to-use objects with important details.
In 3D models a slicing program transforms the model into G-code. The code includes any preferred optimizations and parameter changes. Thanks to that, the person printing the object has much more control of the quality and final outlook of the print. If the software is not set up properly, it automatically generates random starting points in different locations. That can affect the quality of the print. However, when the settings can be changed. It means that user can also change the whole project into one united object. That includes hiding the seams or unwanted curves.
In BigRep we understand the need for the best possible finish effect of the project. That is why we try different slicing methods, to find the perfect one and apply it for the full print height. In our case it is very important due to the large-scale printable quantity.
The tutorial
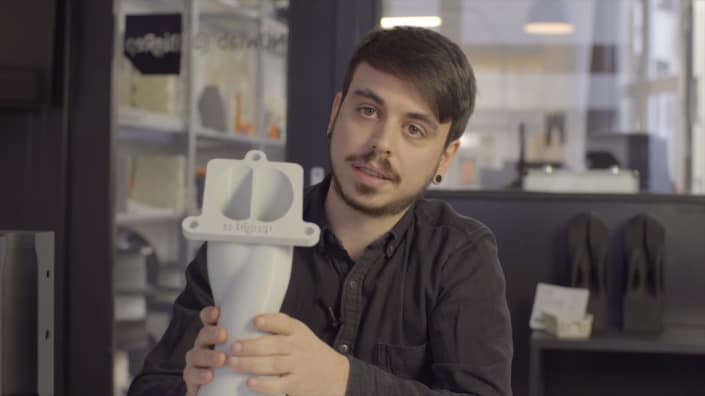
The tutorial explains how to avoid this problem and how to, using Simplify3D slicing software, step-by-step generate optimal start points. Marco Mattia Cristofori, the Architect and 3D Printing Specialist at BigRep, explains that a few additional modifications of the start and end location of the layers can make it sure that the seam is created in an optimal spot on the print. Often there is a natural groove or corner in a print that is a hiding spot for the seam. For example, on the manifold pictured and printed on Bigrep STUDIO, the curve on the right-hand side covers up the seam nicely. “We can make the seams follow the exact path we want them to follow,” said Cristofori. “So, instead, we can optimize this when we generate the G-code”.

3 STEPS TO HIDE THE SEAMS
You can hide the seams on your print in 3 easy steps:
1) Import your model on Simplify3D and figure out how many processes you need to split the part in. Make sure the seams follow the path you want.
2) Edit singularly each process on the LAYER section changing the X & Y setting where the seams should be set up closer to.
3) Slice the part generating the G-code and check for possible improvements. Try different variation of the X & Y settings until you achieve the result you need.
However, Simplify3D is not the only possible tool. The list and description of popular slicing software can be found here.
