Integrate 3D printing in education with the BigRep STUDIO, a large-scale machine that sets students and researchers up for success with its state-of-the-art technology trusted by industry leaders.
3D printing is rooted in hands-on learning, a pedagogical tool for ambitious students and researchers to take them from concepts to physical models, preparing them for real-world success. The technology is widely used to ensure promising research outcomes through high-accuracy parts in a wide range of materials for studies ranging from engineering to art and design. While most entry-level 3D printers in the market comfortably fit on a desk, the unrestricted freedom to explore new ideas manyfold as the build volume gets BIGger.
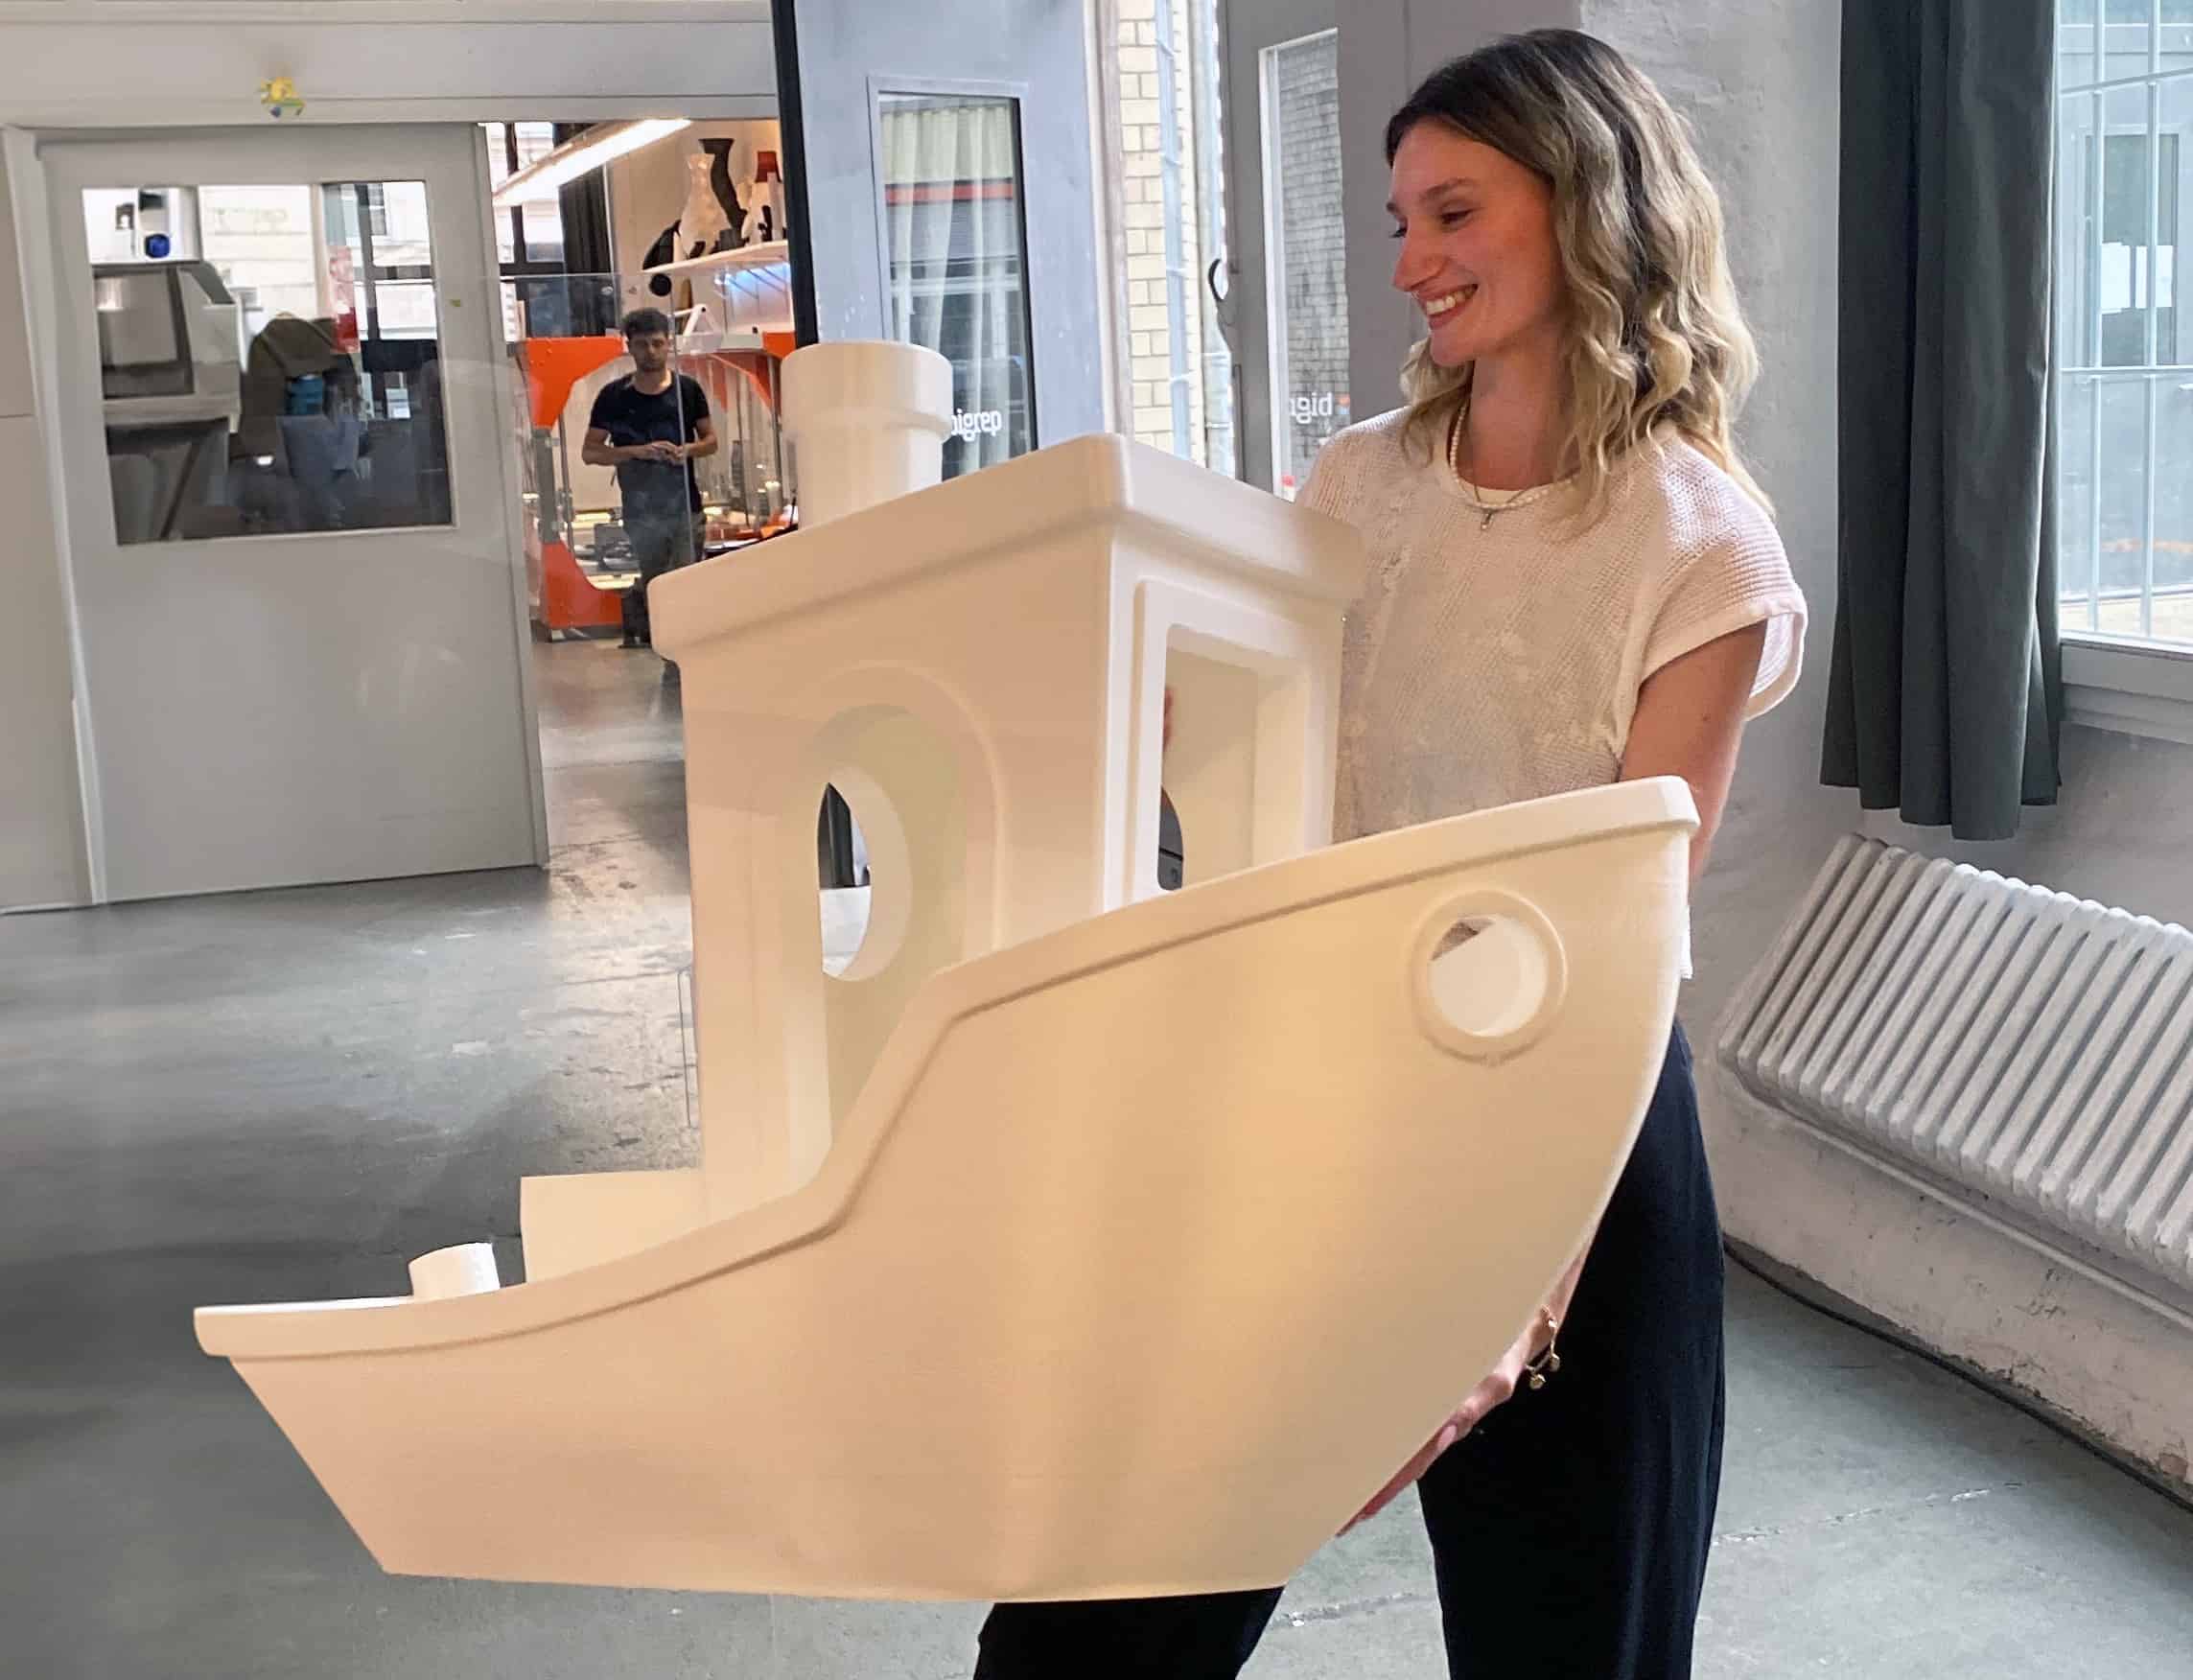
Built with a generous build volume of 1000 x 500 x 500 mm, the BigRep STUDIO is 10 times that of a standard desktop 3D printer. It is a massive, reliable, and education-ready 3D printer built to graduate students from desktop learning to a professional industrial-grade machine. Many leading universities around the world house the STUDIO and discover applications across almost all academic and research disciplines.
Join the Ranks of Top Universities by Integrating Large-Scale 3D Printing into Your Curriculum

WHY THE STUDIO IS THE BEST-IN-CLASS
EDUCATIONAL TOOL
A Generous Build Volume
A 1000 x 500 x 500 mm build chamber for students and researchers to explore and test their ideas in full-scale.


A Safe, Fully Enclosed Build Chamber
The temperature-controlled build envelope for consistent prints and safe access to the print bed.
Open Material Platform
Freedom to print with compatible 3rd party materials including carbon-fiber-reinforced plastics enabling the widest variety of applications in any academic field.


Uninterrupted Productivity
The STUDIO allows for around-the-clock non-stop printing so students can schedule print projects back-to-back and experiment efficiently even during the busiest periods.
Training and eLearning Platform
Students have complete access to online courses on the BigRep ACADEMY and in-person training from fundamentals to expert-level in 3D printing.


Space Conscious Machine Design
Built with a sleek body, the STUDIO is at home in any workspace. The machine runs on a convenient standard electrical outlet and has relatively low power consumption.
Intuitive 3D Print Software
Easy-to-use cutting-edge software suite gives students complete control over the print process, from design to print monitoring: BLADE, FLOW, and CONNECT.

Large-Format 3D Printing Applications Across Different Academic Fields
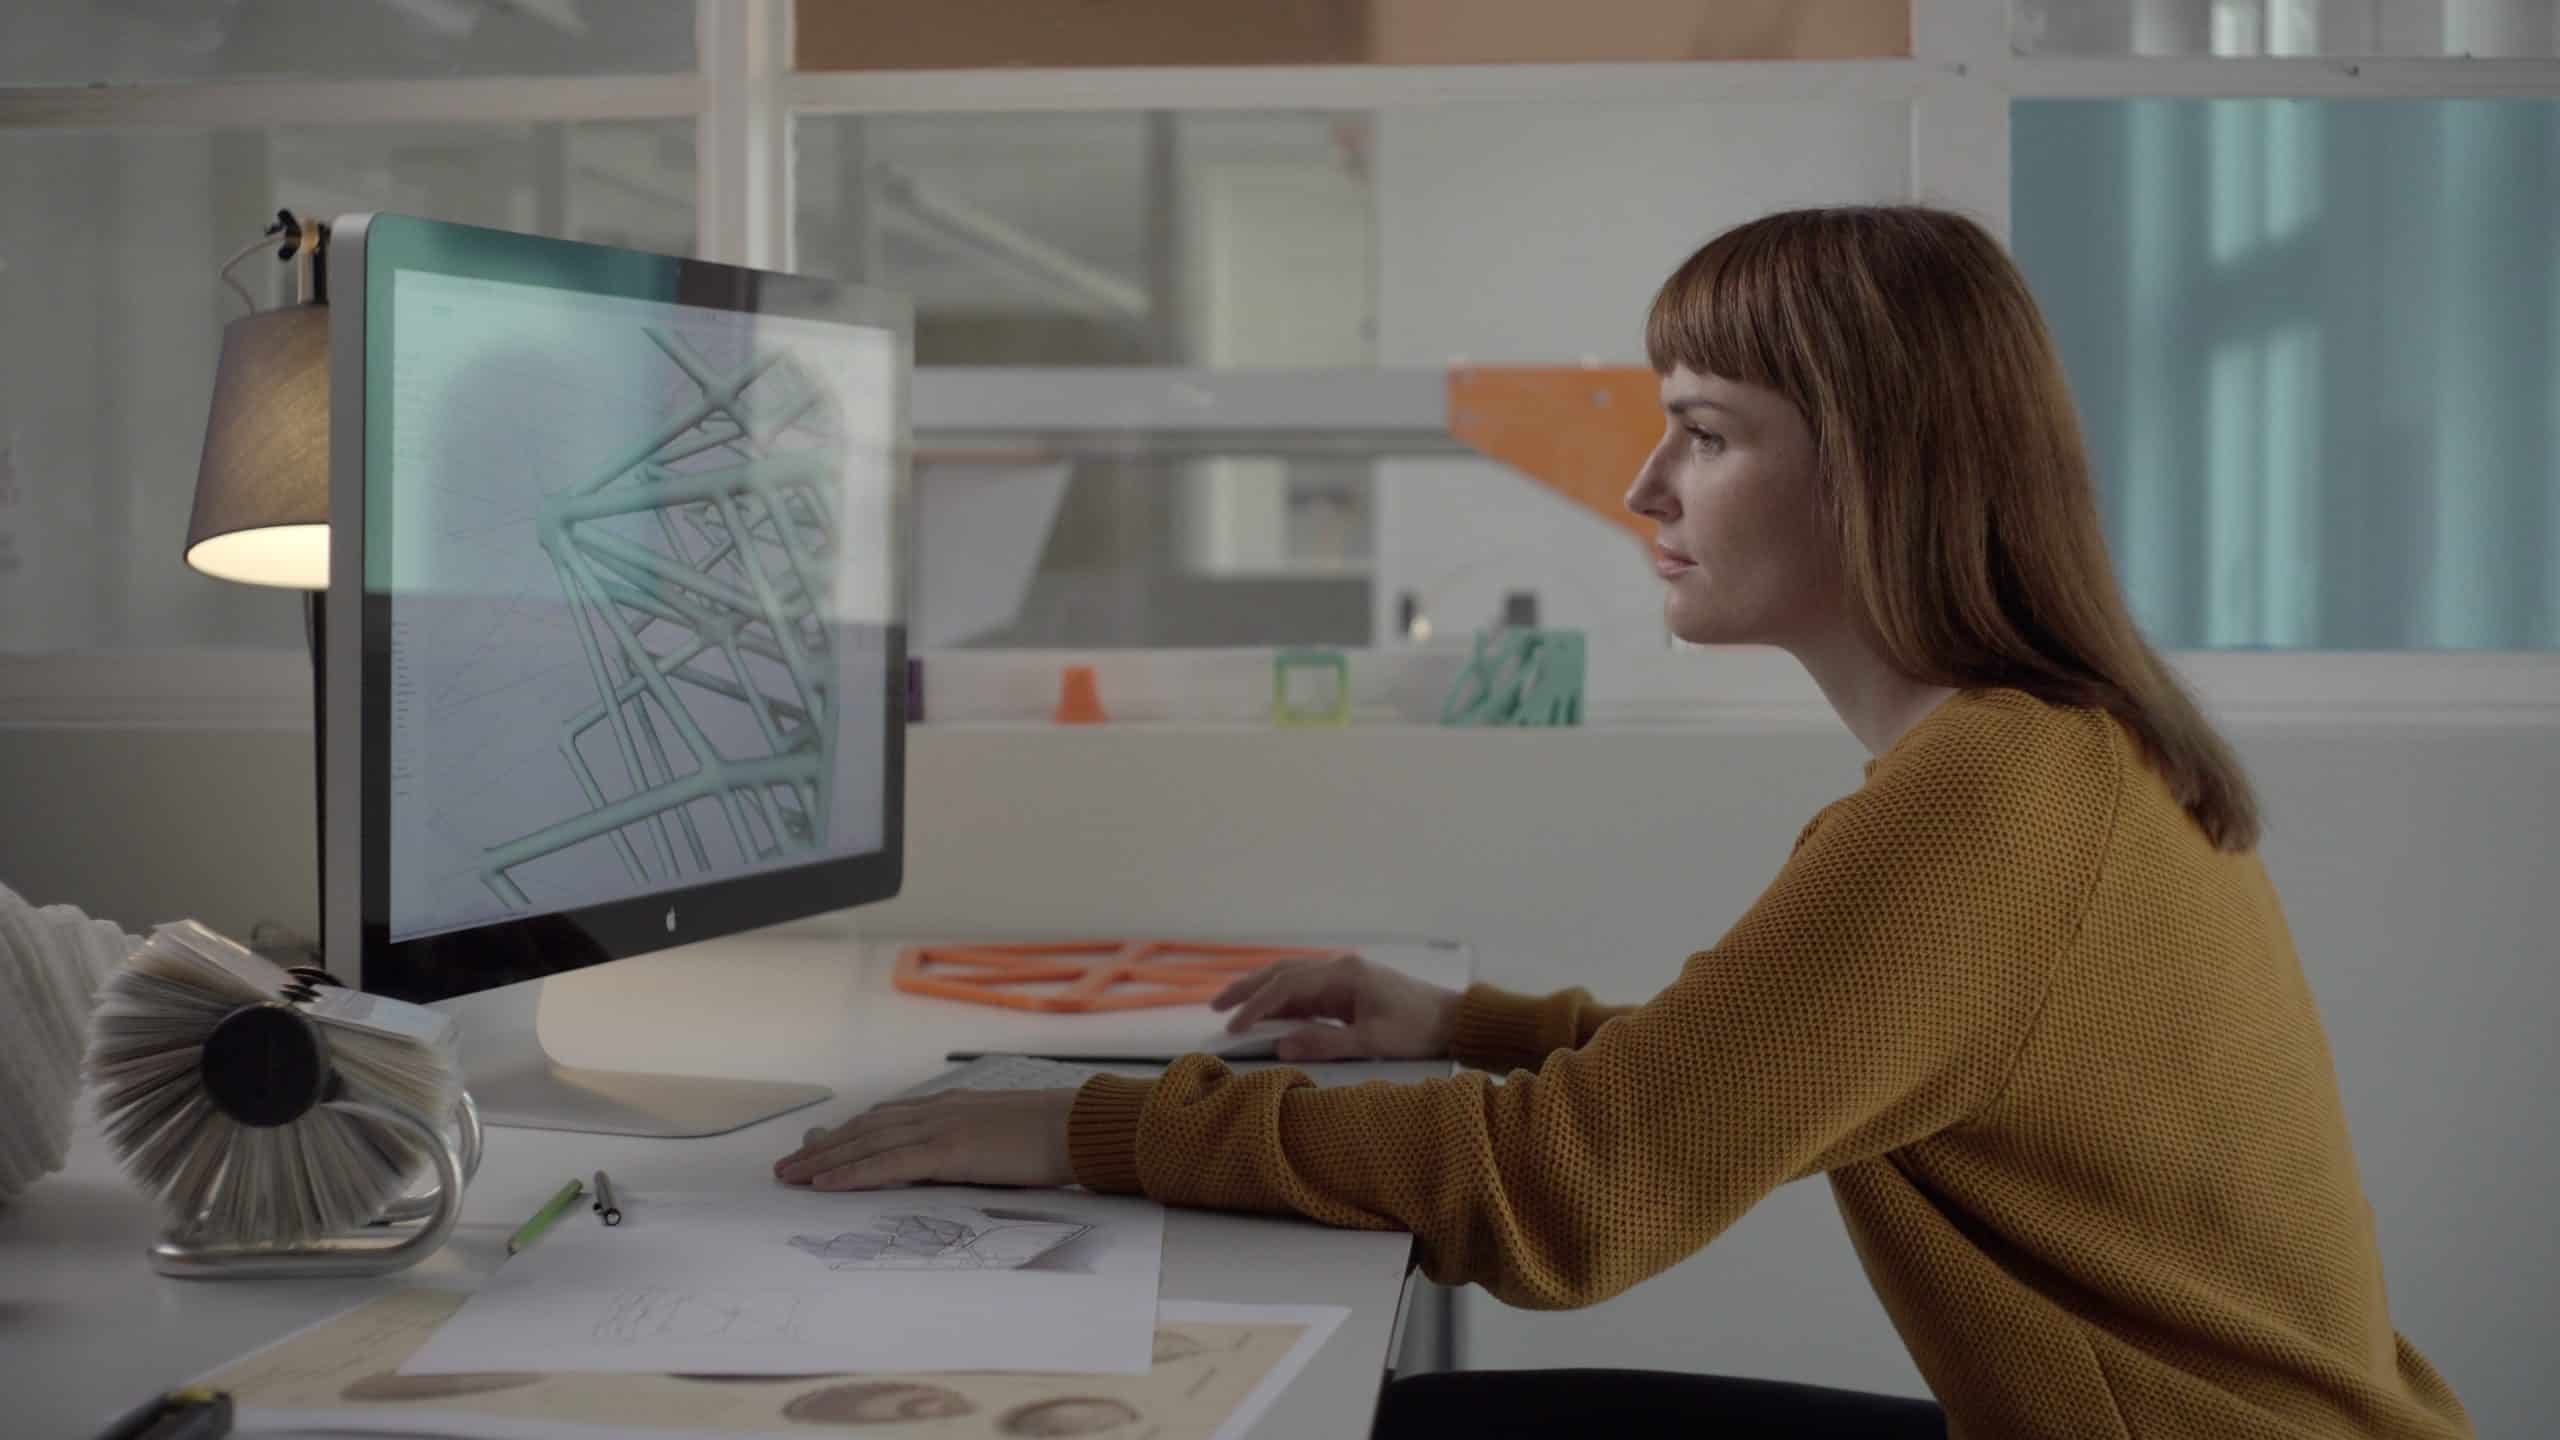
The natural intersection between the STUDIO and education lies in the shared focus on large-scale experimentation, critical thinking, and creativity. The 3D printer imparts practical learning by being a testbed for experimentation, prototypes, physical models, and real-world applications.
The most common educational fields that benefit from the STUDIO’s large-scale capabilities are:
1. Engineering
The significant advantage of the STUDIO for engineering and advanced manufacturing students is its ability to effortlessly print large parts with complex geometries. Designs that would be challenging or even impossible to build with traditional manufacturing methods are second nature for the 3D printer.
Engineering students can quickly test, iterate, and refine their ideas and experiment with different filaments thanks to the open material system. They can gain insight into how material properties influence design and how manufacturing processes impact the final product. This experiential learning helps students develop an intuitive understanding of materials science and manufacturing principles, equipping them with valuable skills for their future careers.
Here are some of the use cases of Universities employing BigRep 3D printing systems in their research labs.

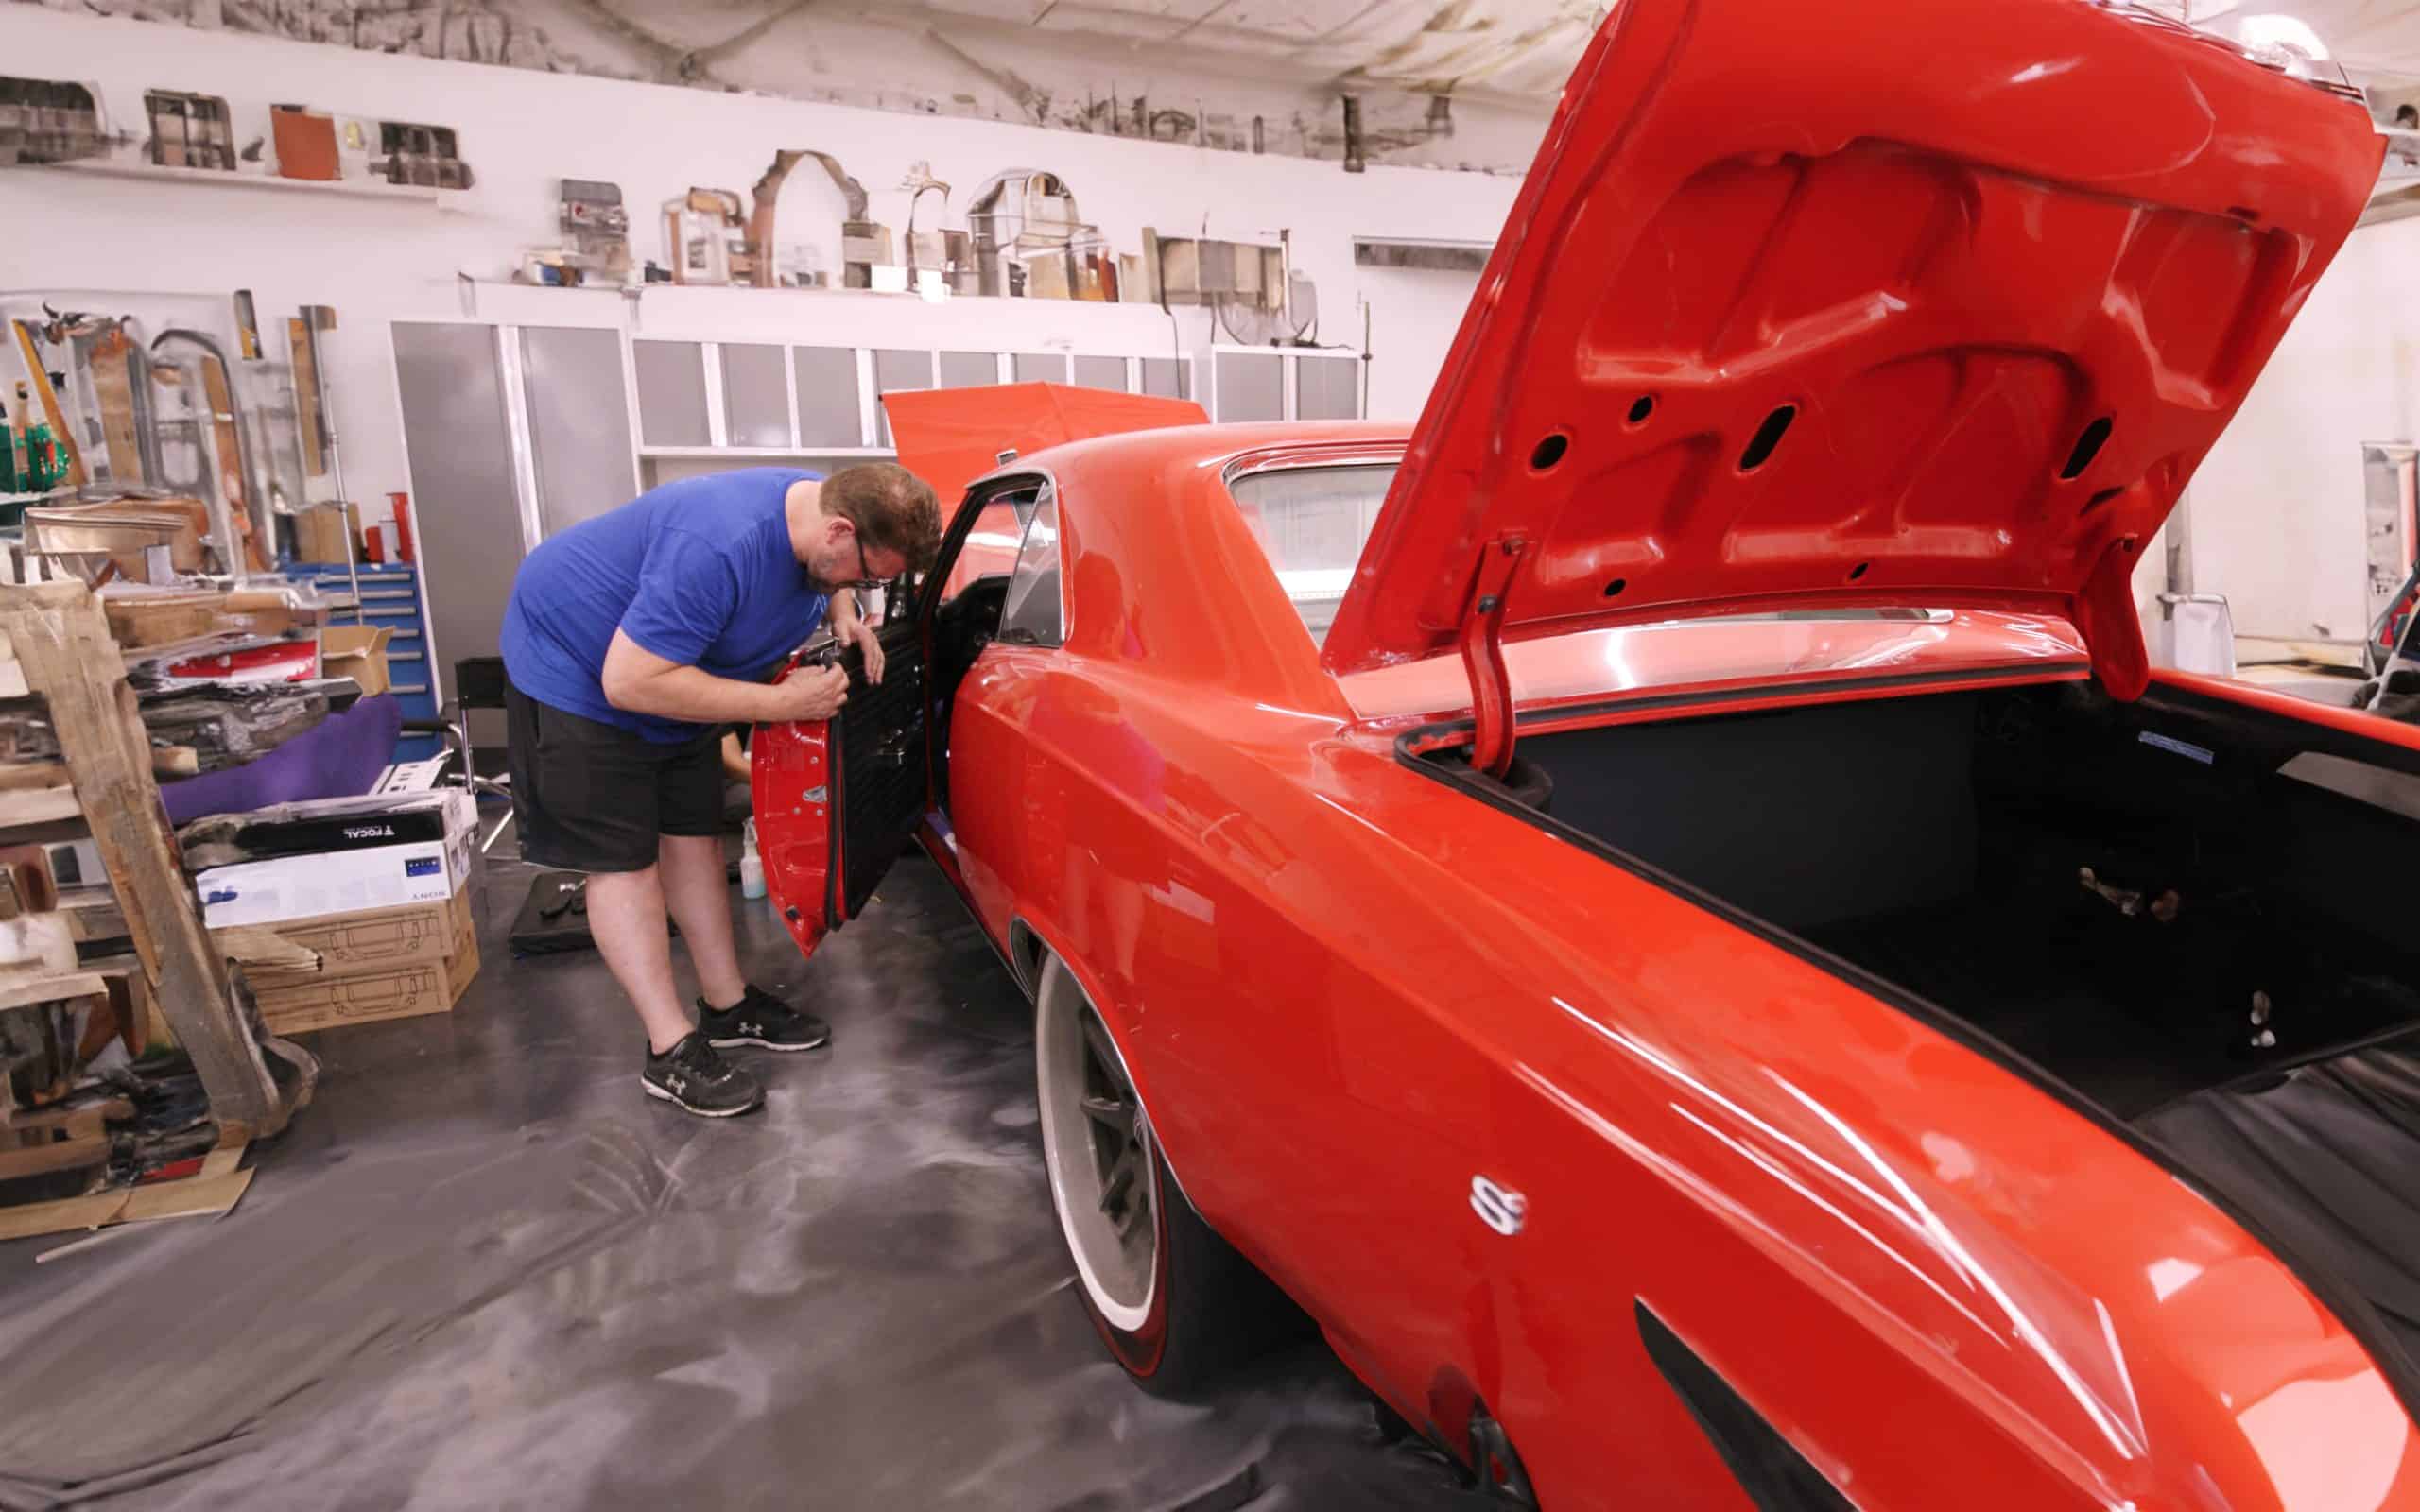
- High-performance car production process
Eleven-O-Six Racing Team, a motorsport team at Helmut Schmidt University in Hamburg, Germany uses a BigRep 3D printer to see what it could bring to their high-performance car production process.Prof. Dr.-Ing Jens Wulfsberg, the Chair of Production Engineering (LaFT) and leader of the project underlines a key advantage of their BigRep 3D printer:
"Using a BigRep 3D printer is a fast solution to produce a fast car because we have short cycles for optimizing the parts. In every iteration cycle, the car is better, and faster. This is one of the direct consequences of using the machine."
- Rapid prototypes
Dr. Mario Oertel and his team at the advanced hydraulics engineering lab at Helmut Schmidt University are transforming weir designs with BigRep 3D printing systems.
- End-use parts
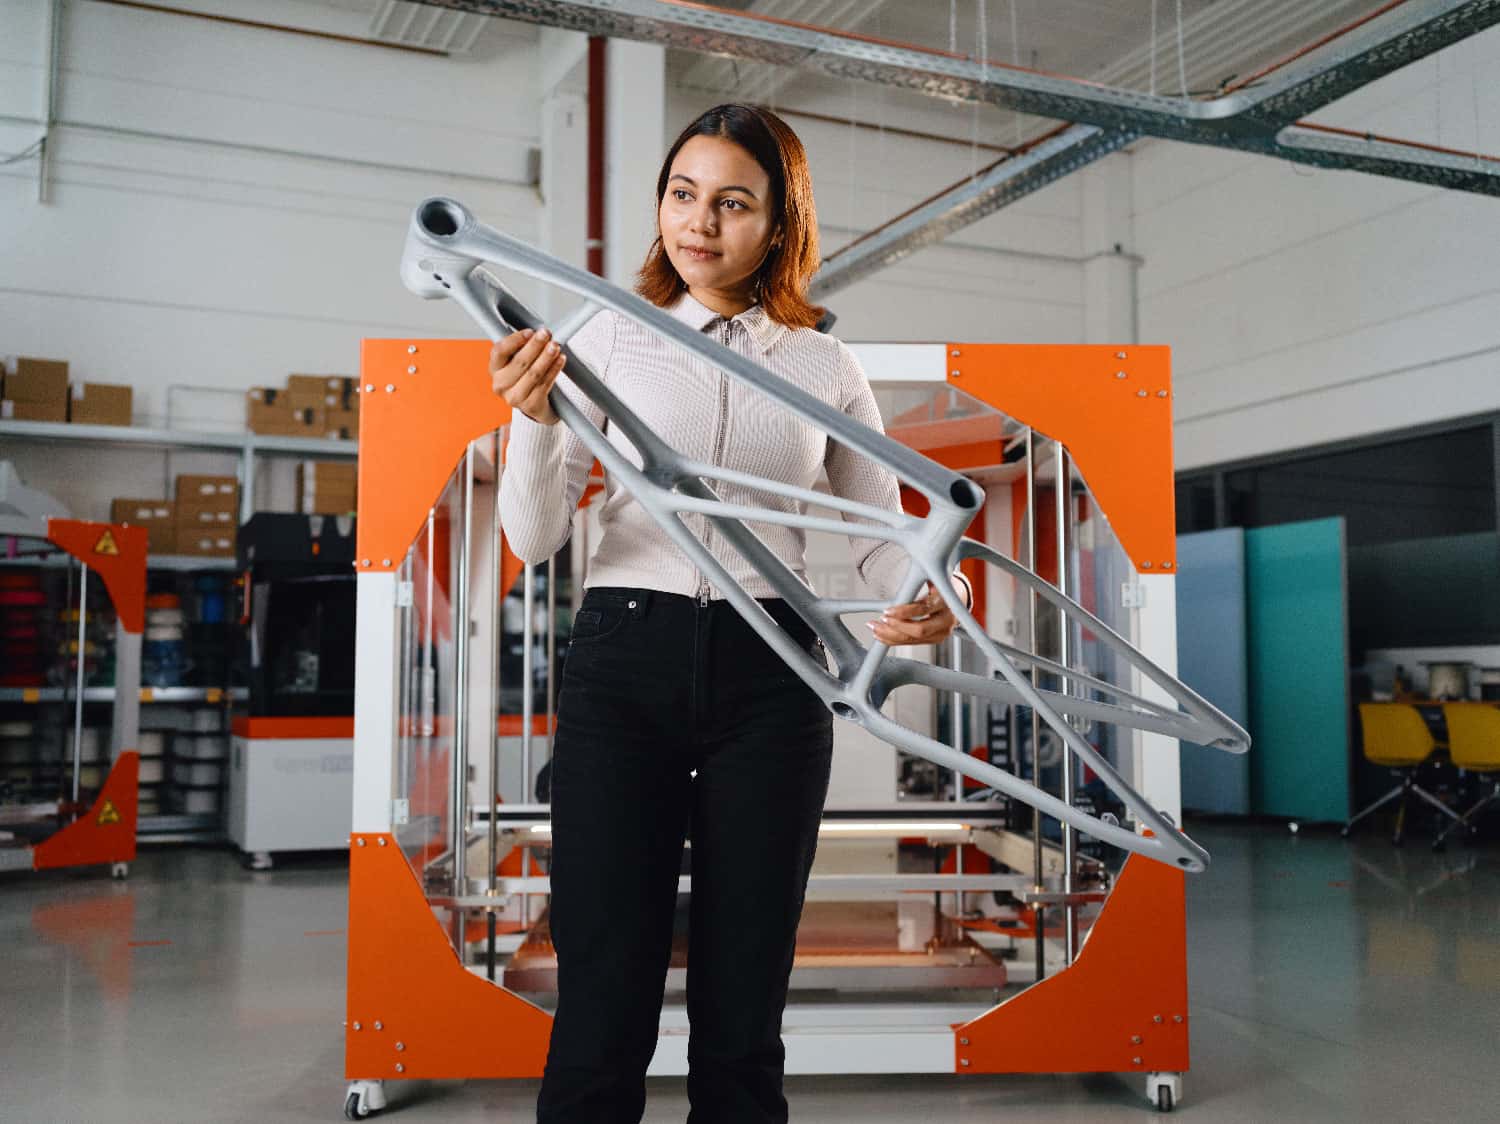
Aalborg University Engineers 3D printed a functional bicycle frame in one go.

- Aerospace engineering
Aix-Marseille Université, one of the largest universities in France, developed a unique accredited degree program in aerospace engineering with BigRep 3D printing systems.

2. Sciences
Thanks to the large-build volume, the STUDIO can create anatomically accurate representations for biology and medicine students ensuring a realistic and immersive learning experience. The 3D printer can play a crucial role in medical device development, allowing researchers to prototype and test cutting-edge healthcare solutions.
The other area that additive manufacturing contributes significantly is in the visualization of concepts. Beyond healthcare and biology, they support environmental studies and geoscience research by creating models for studying ecosystems, geological formations, and natural phenomena.
The STUDIO can easily create complex components and prototypes for advanced physics research projects tailored to specific objectives. Students can experience experimental design, data collection, and analysis. Be it fabricating models that are tested by being subjected to natural forces, or designing innovative sensors, students can leverage the capabilities of FFF 3D printing to push the boundaries of scientific exploration and discovery.

TU Berlin’s Ph.D. student, Jörg Alber, and Master’s student, Laurin Assfalg, 3D printed a wind turbine rotor blade to experiment, evaluate, and improve its performance. By creating and optimizing rotor blades on a smaller scale with BigRep’s 3D printer, they could explore different infills, shapes, and materials and test them against simulated real-world conditions.
Laurin Assfalg:
"3d printing was a compelling option to produce the rotor blades as it can create complex forms and enhance performance. The idea was to come up with the science that can somehow be used for big rotor blades too."
3. Art
In art and design education, the STUDIO empowers aspiring artists with the freedom and practical skills needed to breathe life into their creative visions. Students can explore new techniques and experiment with materials, overcoming the limitations of traditional art mediums. Some of the areas where the 3D printers give the students a leg-up are with props and special effects, fine art creation, sculptures, installations, and art preservation.
The machine’s high level of precision helps students create intricate artwork, allowing them to delve into digital fabrication techniques and integrate technology into mixed-media art projects. Welly Fletcher, an Assistant Professor of Sculpture in the Department of Art at the University of New Mexico, built a bridge to prehistoric cave art with a massive 3D printed mixed-media lion-like figure with a BigRep printer.

4. Architecture and Construction
Studying architecture and construction at a university with access to a large-scale FFF 3D printer offers students the opportunity to prototype their designs at scale. This helps with a detailed analysis of spatial relationships, structural integrity, and design aesthetics of the building. The physical model can be quickly iterated to find the perfect solution to architectural challenges.
From complex architectural features to intricate building elements, integrating a STUDIO in the process fosters interdisciplinary collaboration and innovation. Architecture and construction students can collaborate on projects that combine architectural principles with engineering expertise.
The elaborate, contemporary “Ancora Villa” printed on a BigRep printer, is a complex architectural design with a fragile overall structure and many highly intricate details.

5. Archaeology and Paleontology
FFF 3D printing can turn back time by recreating lifeforms that have gone extinct and artifacts that have been damaged or lost forever. The physical models are profoundly engaging, offering an unparalleled experience by allowing students to learn about the past by holding it in their hands. Creating singular pieces of small to large scale parts comes easy for the STUDIO and students have a wide variety of materials to choose from. Post-processing techniques like painting and wrapping the part ensure a more realistic representation.
CDM STUDIOS in Australia 3D was commissioned to create sculptures and models of dinosaurs and extinct sharks on short notice. With a BigRep 3D printer, they were able to accurately recreate 110 models in just 9 months.

6. Product Design
The iterative nature of 3D printing allows students to test and refine their ideas, gaining valuable insights into form, function, and manufacturability. By experiencing the entire design cycle—from concept development to prototyping—students develop critical problem-solving skills and design thinking methodologies.
The STUDIO enables the intersection of design, engineering, and materials science by collaborating with peers from diverse backgrounds to tackle complex design challenges. Through this collaborative approach, students gain a deeper understanding of the multifaceted nature of product design and develop the ability to integrate technical, aesthetic, and user-centered considerations into their designs.

Next-Gen AM Technology for Next-Gen Graduates
The STUDIO provides a solution for educational institutions that’s equal parts reliable and open for experimentation, engineered with state-of-the-art technology trusted by industry leaders. The 3D printer ensures successful research outcomes by printing high-accuracy parts with an open material platform rooted in a user-friendly, professional-grade full-solution AM eco-system.
In today's competitive job market, hands-on experience with professional 3D printers provides students with a valuable edge, offering a tangible representation of their ideas and enhancing the learning process. Prepare students for the real world and set them up for successful careers in any field, all within an accessible price range and unlimited experimental opportunities.


Want to learn more about how Universities are upgrading education with 3D printing?
Register to watch the on-demand webinar, Inspire Students and Innovate Faster.
In this webinar, we discuss with some of the top universities, the projects and research they’ve conducted using large-scale 3D printing.
REGISTER FOR THIS WEBINAR TO LEARN HOW
- 3D printers support scientists and students conducting research in universities
- AM is crucial in fast-paced experimentation and rapid iteration
- To unleash creativity through AM technologies
- 3D printers are an ideal tool in educational institutions to test new ideas.
INSPIRE STUDENTS & INNOVATE FASTER: INTEGRATING LARGE-FORMAT 3D PRINTING IN UNIVERSITIES.


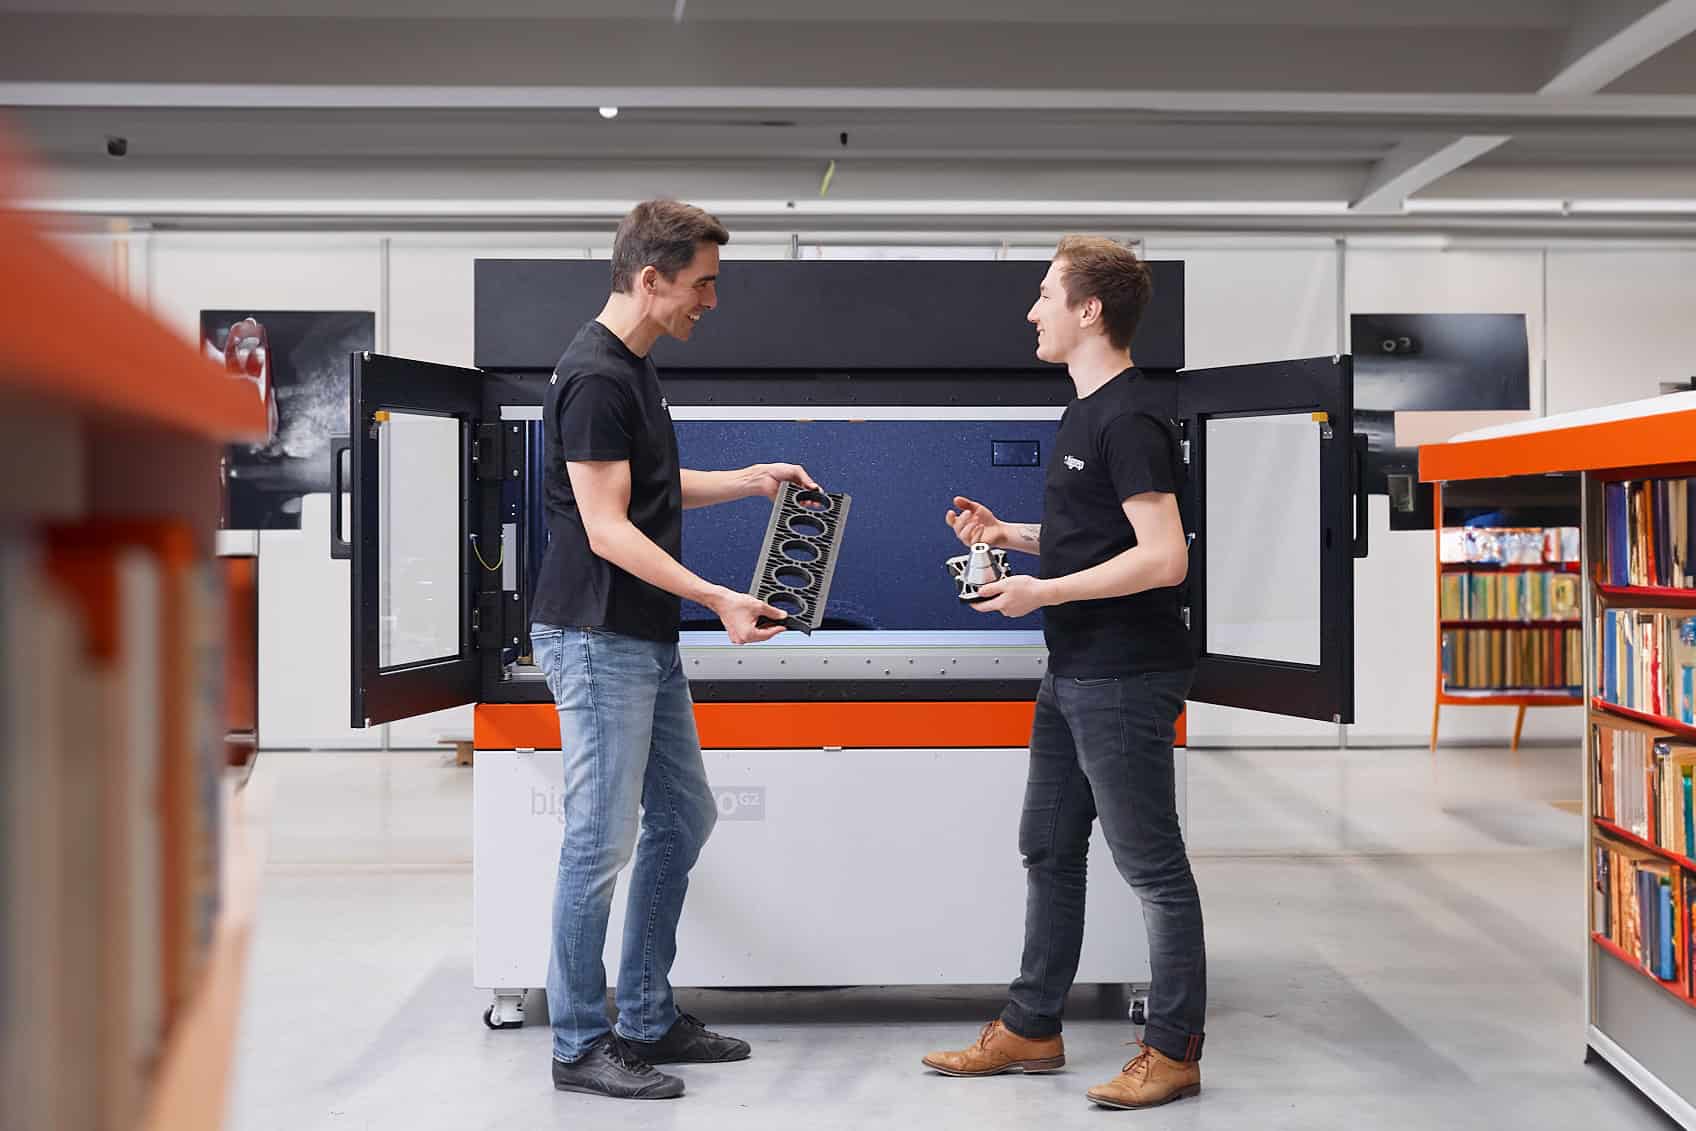
GRADUATE FROM DESKTOP. GET INDUSTRIAL.
The BigRep STUDIO G2 gets 3D printing off your desk and takes it to the next level. Operating with the same ease as a desktop 3D printer and with 10 times the build volume, the STUDIO G2 provides large-scale industrial manufacturing capabilities in a compact “fits everywhere” build.
About the author:


")

")
")
")
")


")