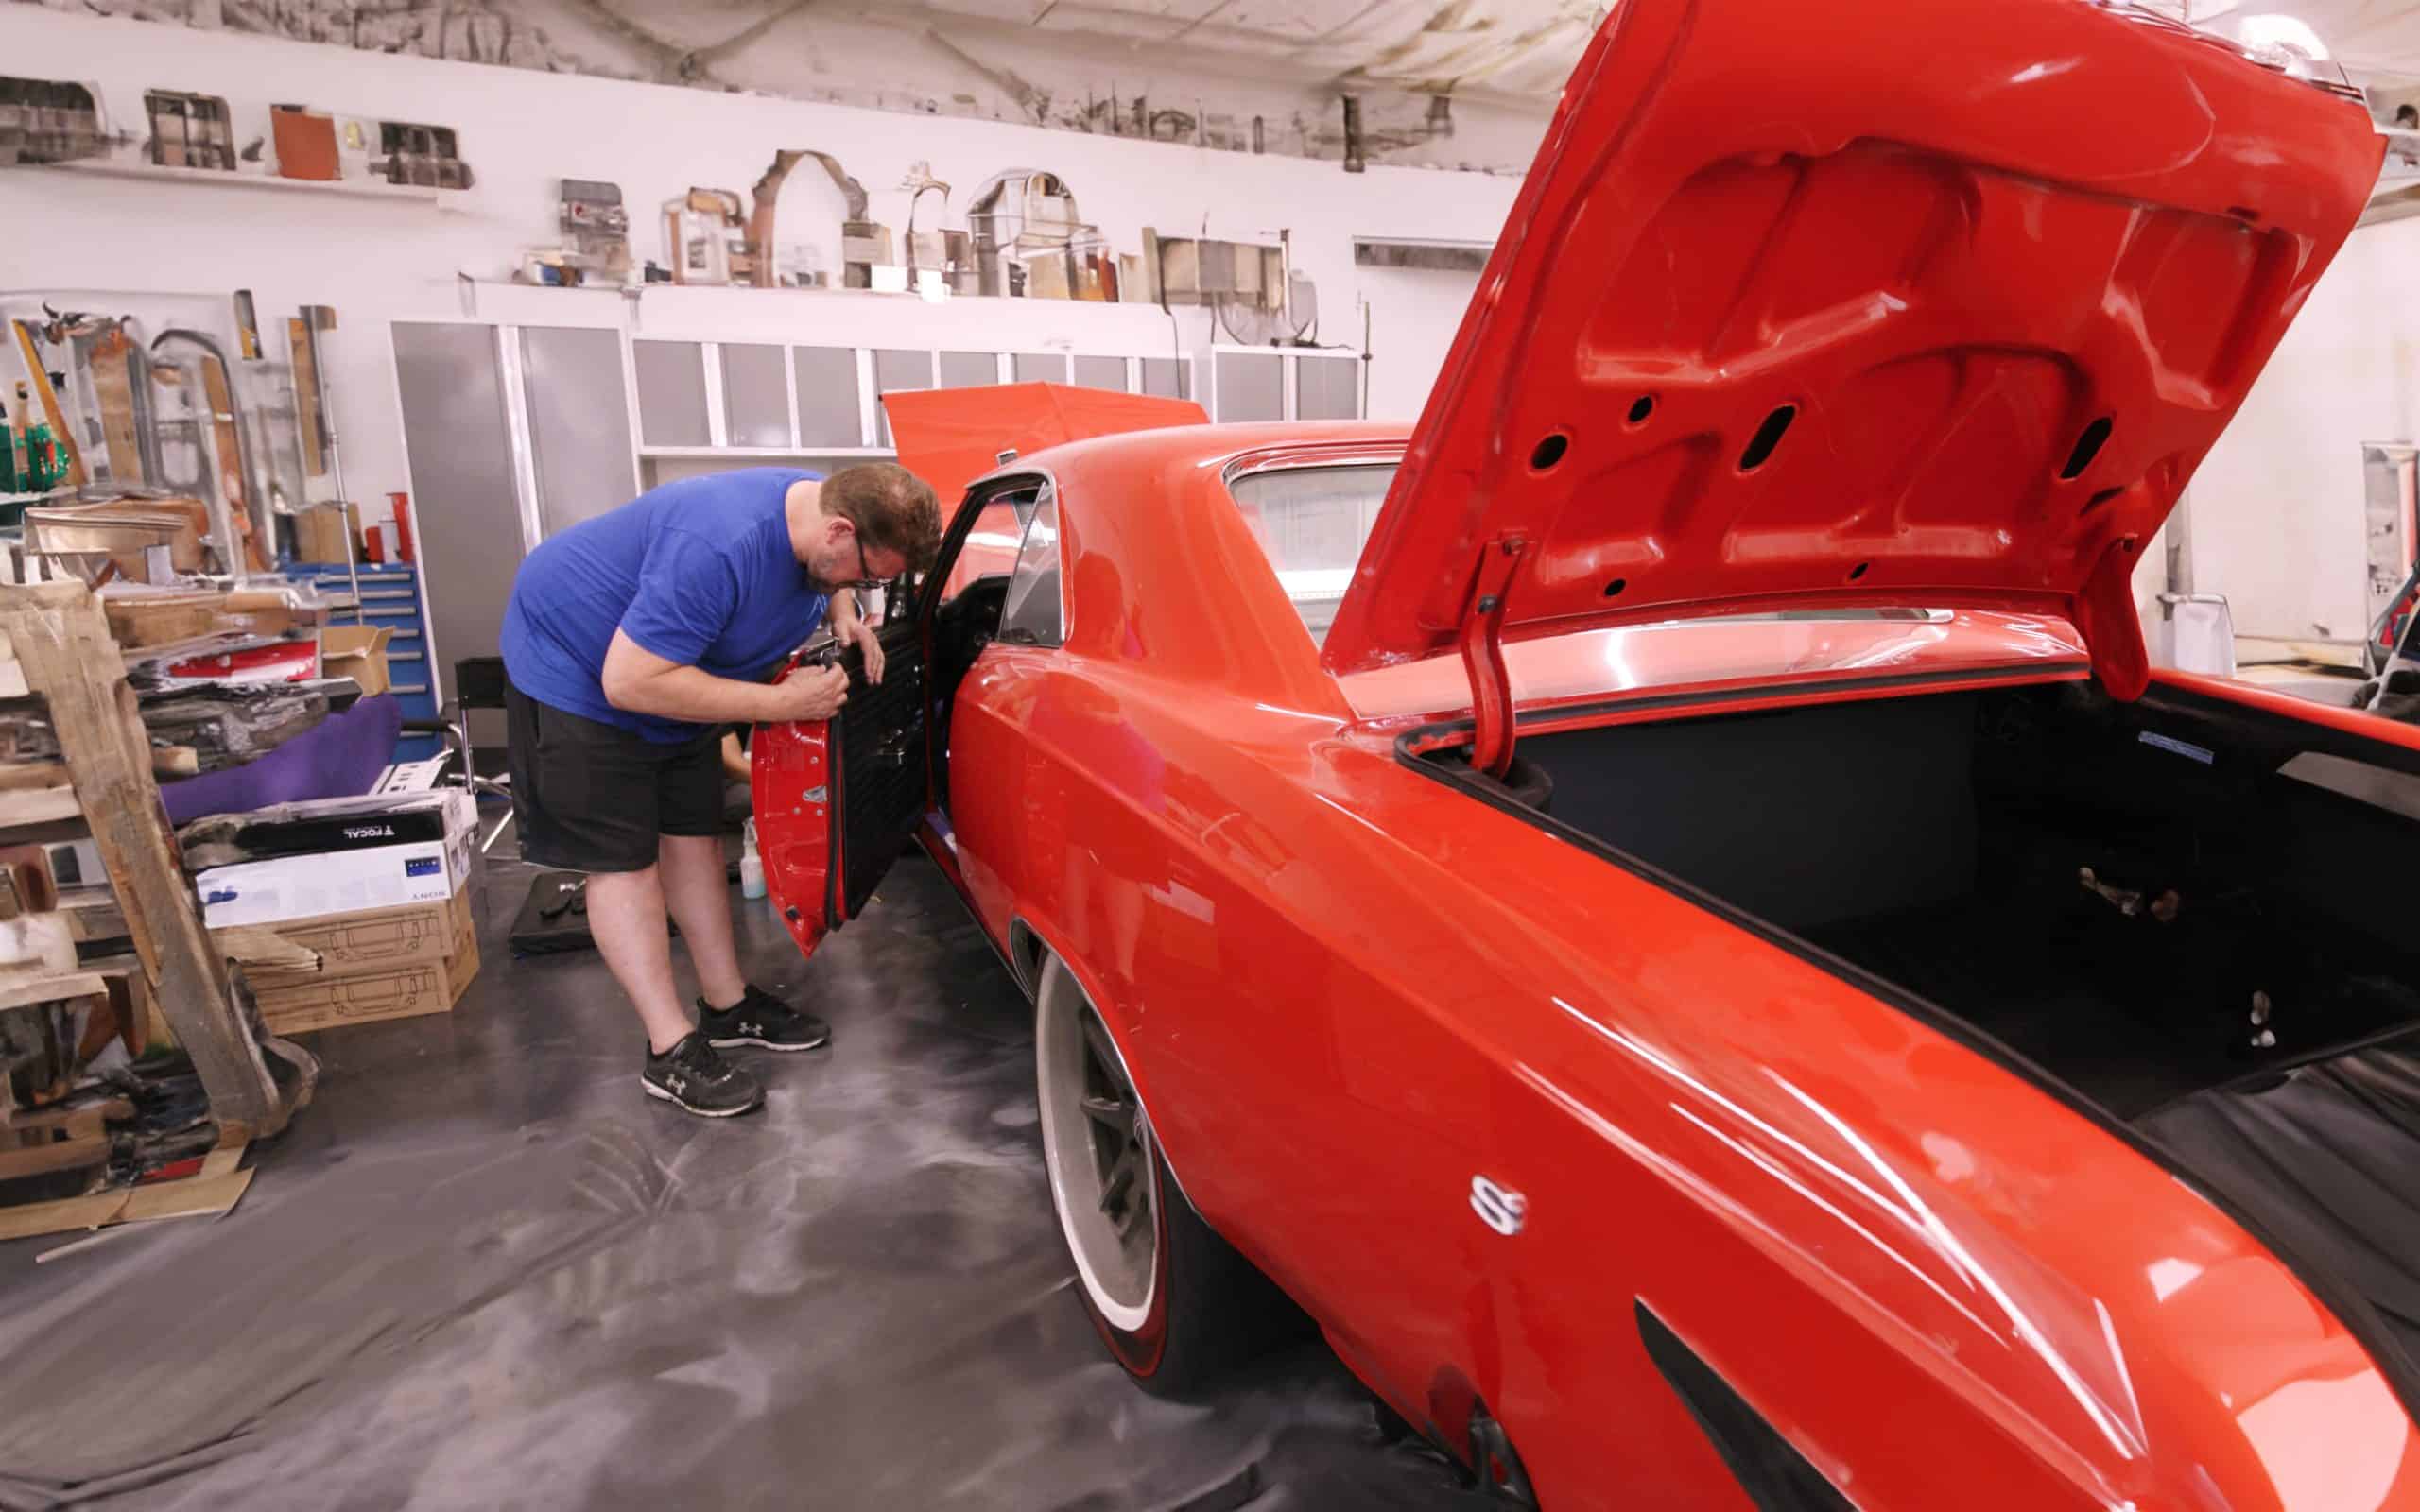
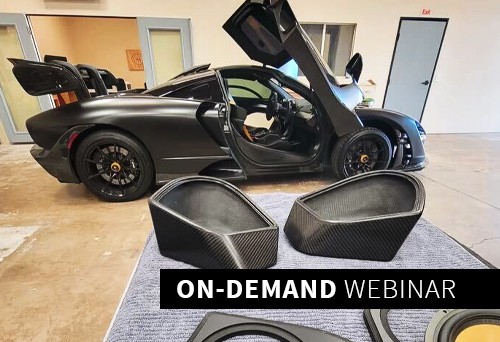
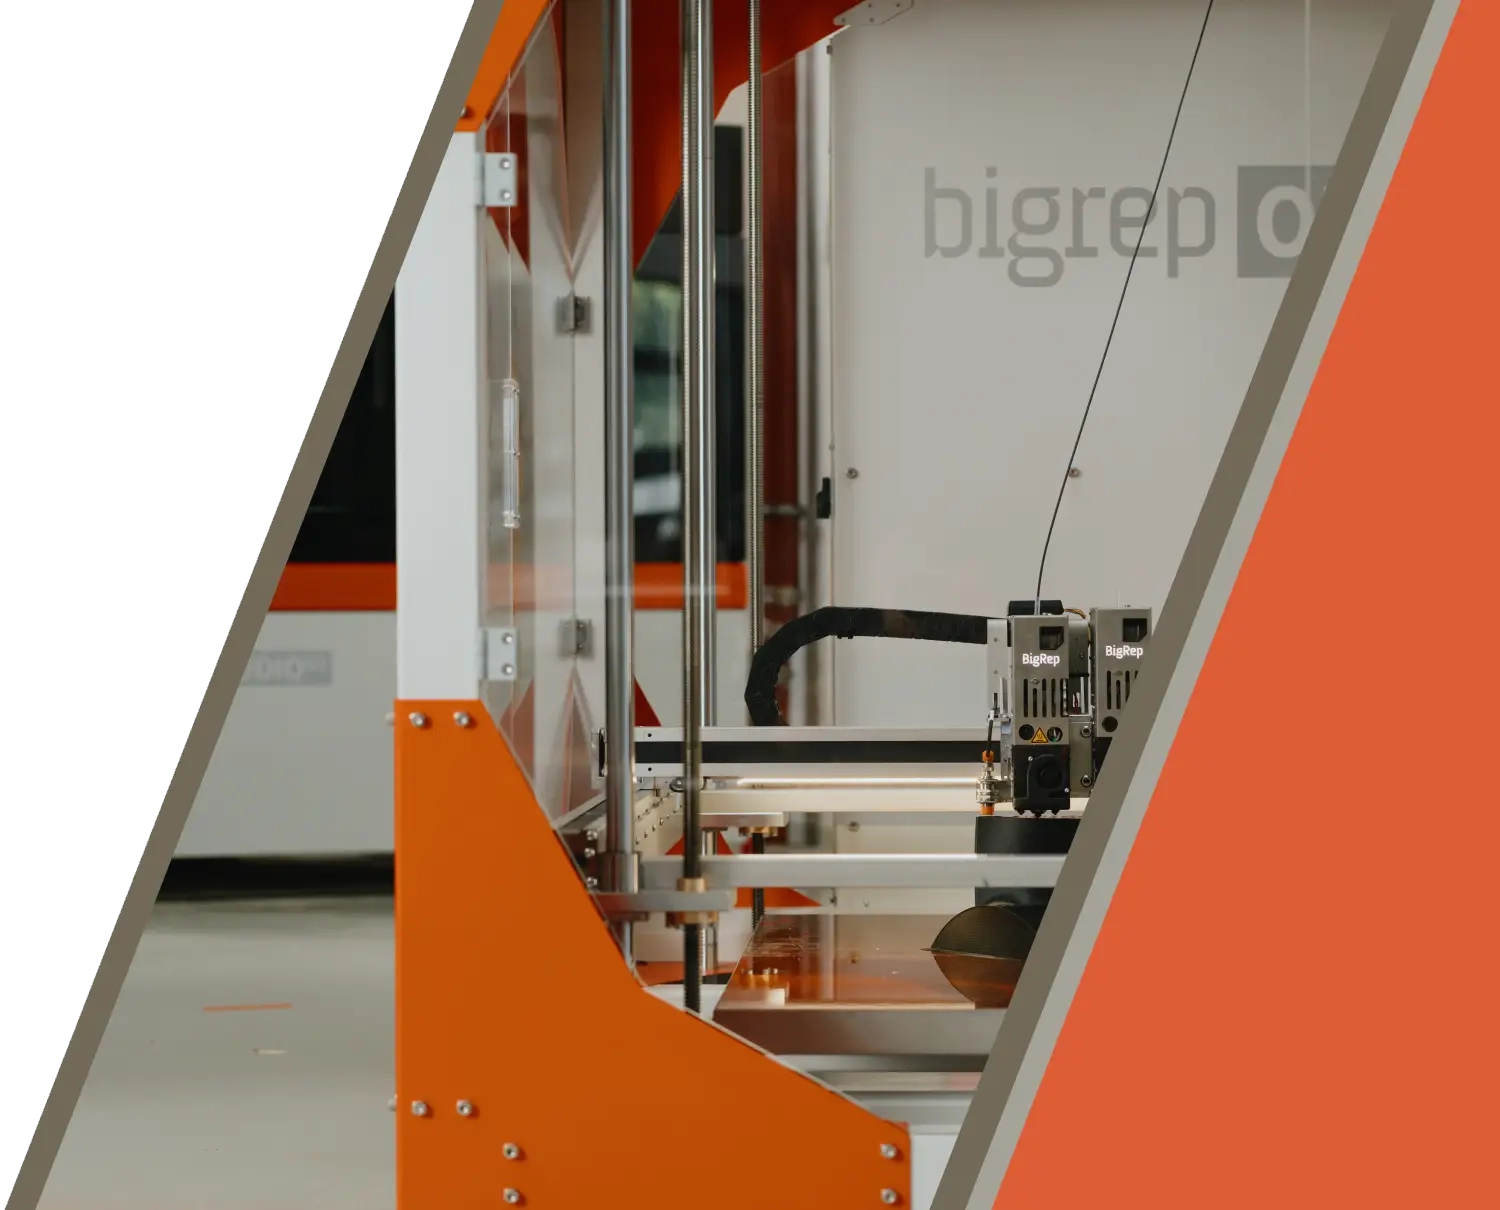
From upgrading vintage cars to powering high-performance race cars, 3D printing caters to a range of automotive applications replete with professional-grade finishes. While some prints are good to go fresh off the print bed, some need finishing touches before reaching their final functional form.
3D printing builds parts by laying layer upon layer of melted plastic leaving pronounced ridges, especially with lower print resolutions. Also, support structure removal can leave behind a marred surface that needs to be further processed. Different post-processing techniques smoothen and treat the surface to make the final part not only visually stunning but also structurally robust blending form with function.
In this guide, we explore the 3 primary post-processing types - additive, subtractive, and property-changing methods and combinations of these techniques for the finishing of the 3D-printed car parts.
Post-Processing Methods
1. Additive post-processing
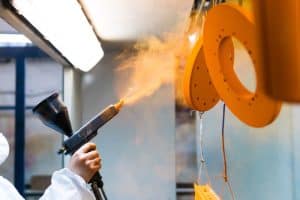
adds material onto the 3D printed parts to fill in the irregularities, smoothen the surface, and enhance mechanical and functional properties.
Examples: Filling, priming, brush coating, spray coating, foiling, dip coating, metal plating, powder coating, and ceramic finishes like Cerakote coating.
2. Subtractive post-processing
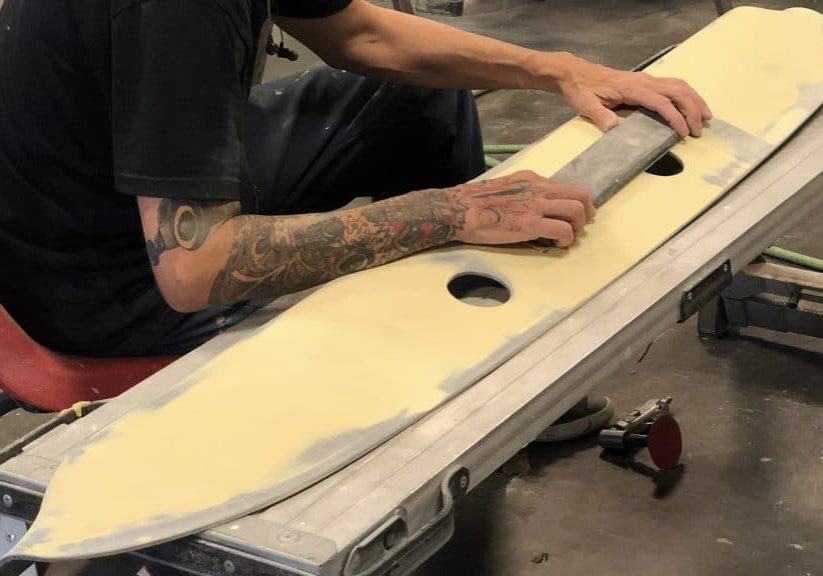
takes away part of the surface to create a uniform look and feel. It is the most common post-processing method used for 3D-printed car parts.
Examples: Sanding and polishing, tumbling, abrasive blasting (sand blasting), CNC machining (milling), and chemical dipping.
3. Property-changing post-processing
rearranges the molecules of a 3D print’s surface to improve the strength and evenness of the object. It doesn’t add or take away from the print resulting in cleaner and stronger parts achieved from thermal and chemical treatments.
Examples: Local melting, annealing, and vapor smoothing.
While each of these methods treats the surface in different ways, depending on the function, there are tried and tested combinations for different car parts that are advantageous for aesthetics and functionality.
Aesthetic and Functional Post-Processing Techniques for 3D Printed Car Parts
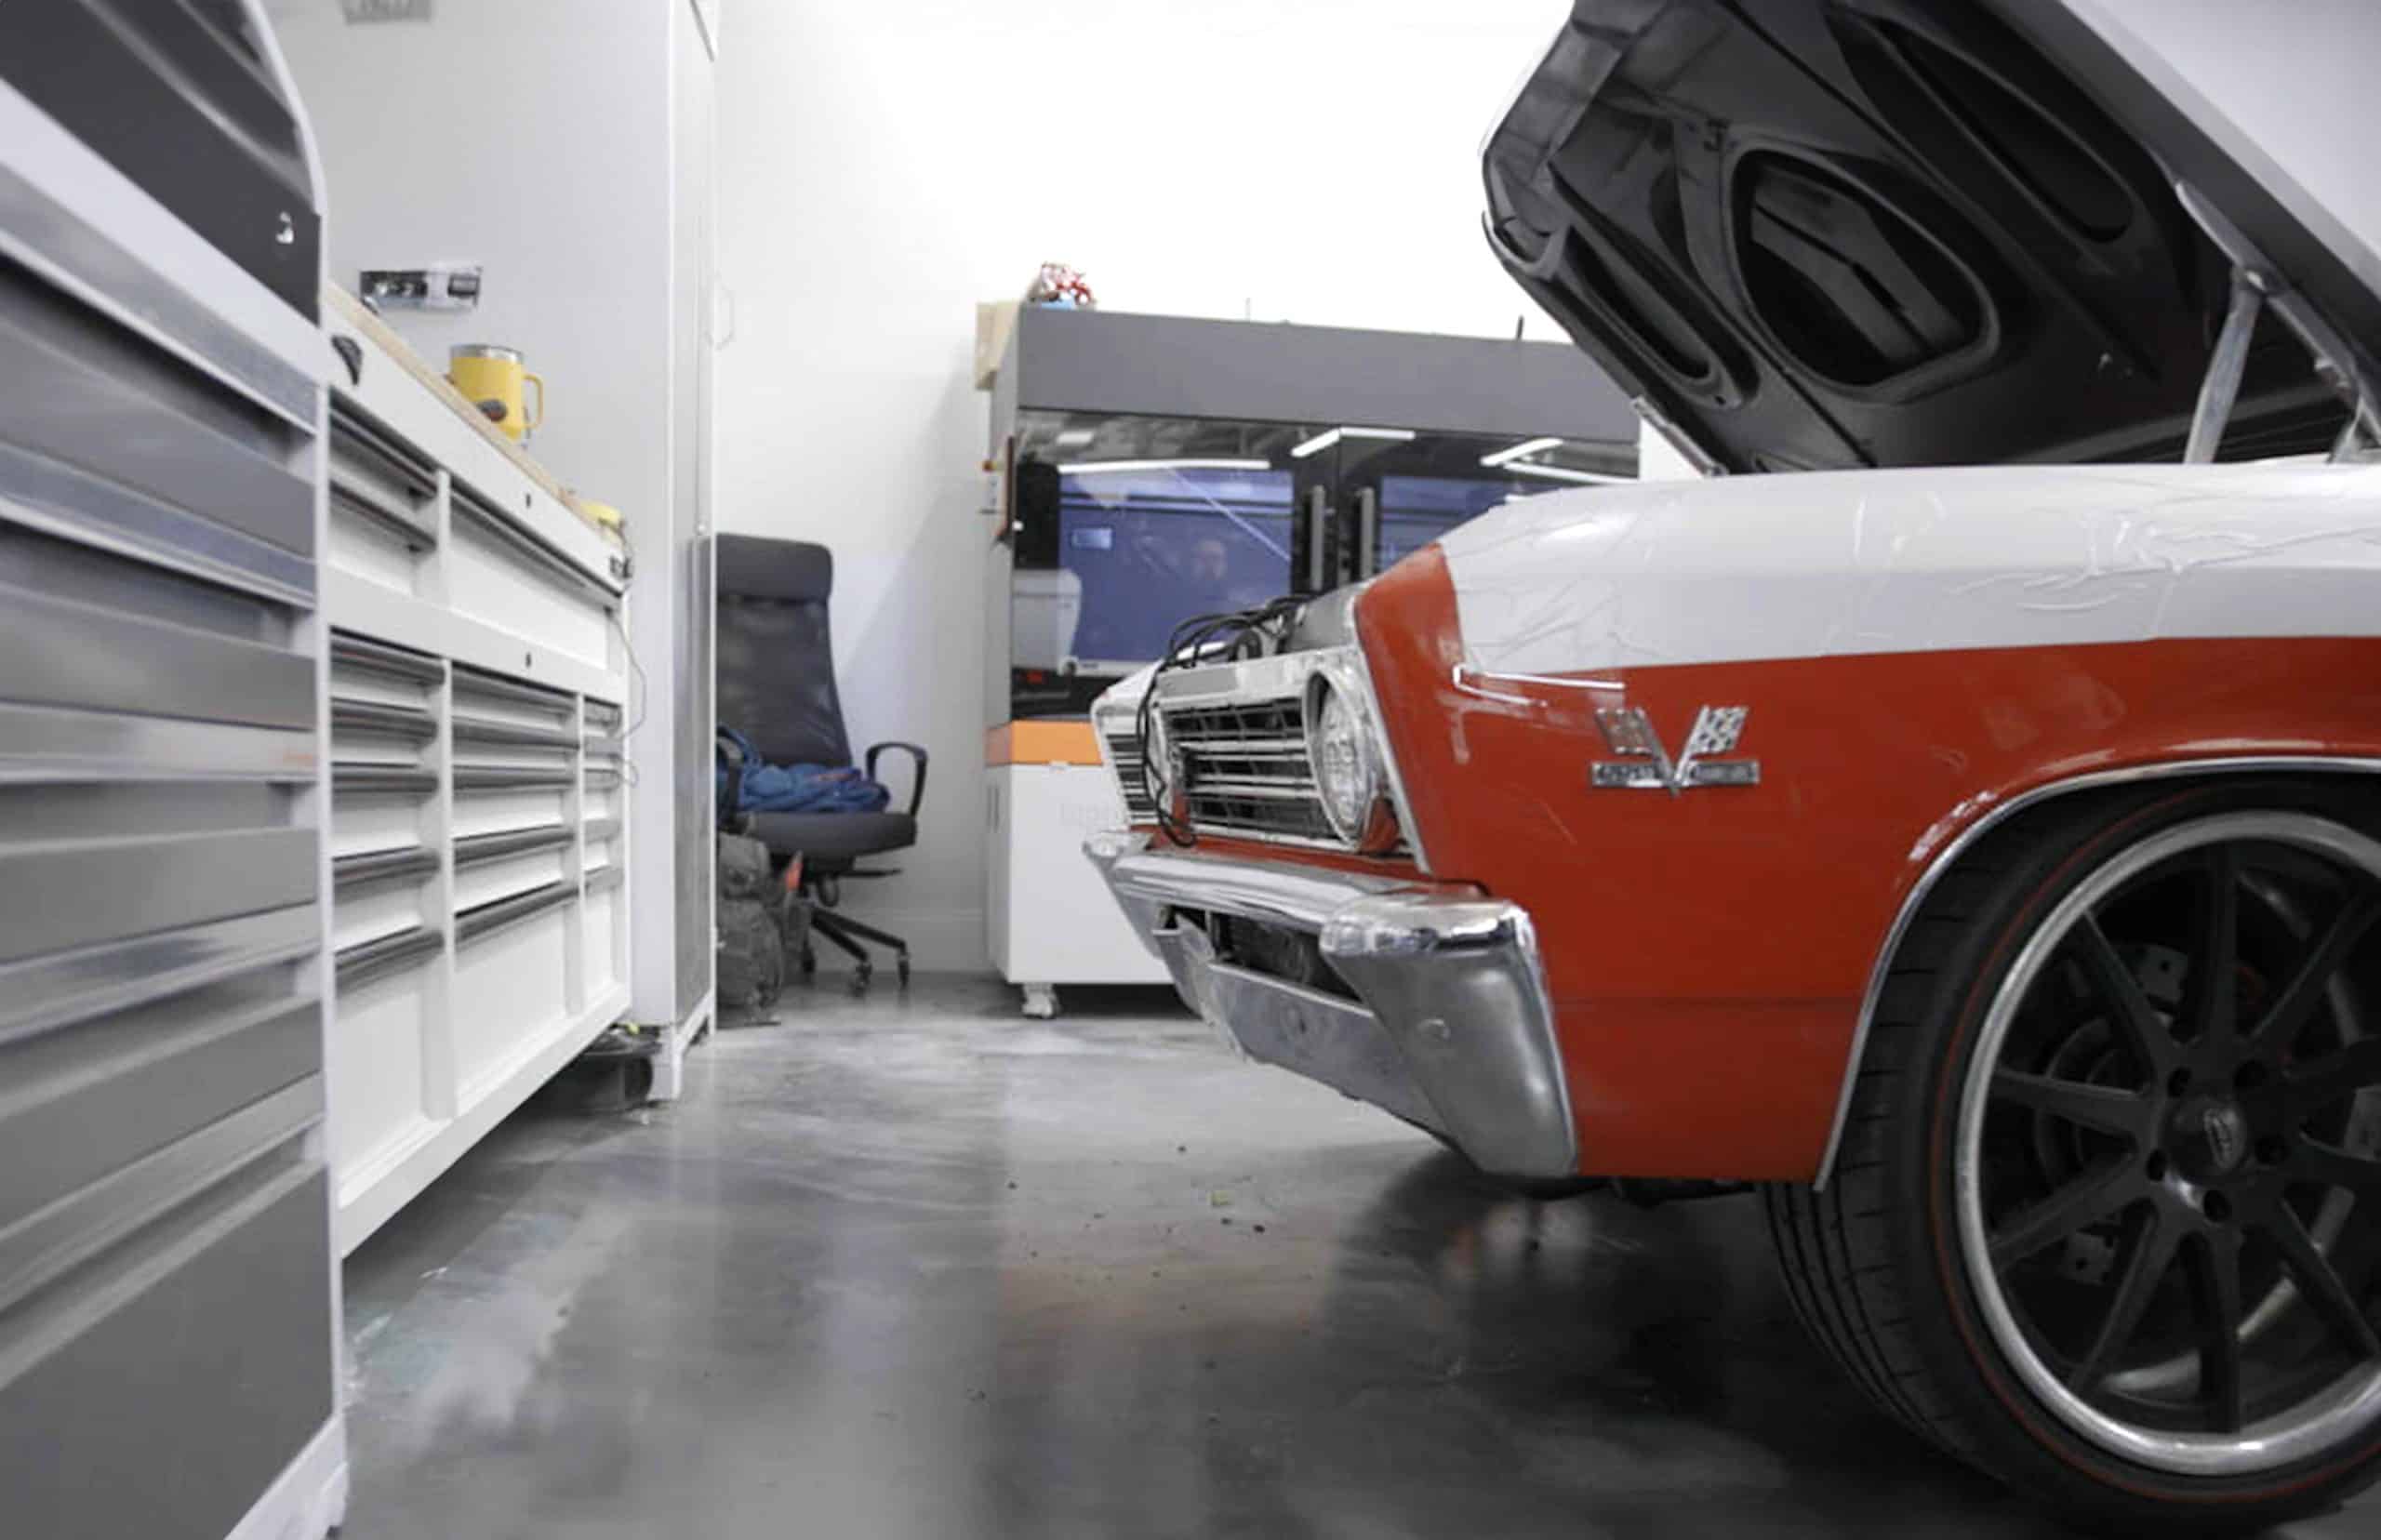
The 3d printed car parts can go through a combination of finishing techniques to achieve an enhanced surface finish, geometric accuracy, aesthetics, added mechanical properties, and improved usability. While some car components like dashboards might need only sanding and coating, other parts that are load-bearing such as a wheel accessory might require sequential finishing treatments for optimal performance. Apart from the improved look and feel, the post-processing steps have added benefits such as strengthening, UV resistance, tolerance towards higher temperatures, and protecting the part from regular wear and tear like bumps and scratches.
Some of the key advantages are:
- Smoothing the surface of printed parts to achieve roughness values acceptable for end-use parts.
- Certain post-processing methods strengthen the prints so that they may withstand increased stress and pressure.
- Specific additive post-processing methods can change the material properties of the surface (e.g. waterproofing, UV resistance, corrosion resistance).
The most common sequences of post-processing techniques for the printed car part are:
1. Coating or Filling, Sanding, Painting, and Sealing
This process employs coating or filling to address surface imperfections, sanding to refine the texture, painting to add color and protection, and sealing to ensure durability.
Some of the 3D-printed car parts that are post-processed with this method are console elements, custom brackets and mounts, plate covers, fenders, and speaker covers.
THE PROCESS
1. Coating or Filling
The coating or filler depends on the type of 3D printing filament used as they differ in surface texture, porosity, and adhesion properties. Fill the visible layer lines, gaps, or imperfections, and allow enough time for the coating or filler to cure.
2. Sanding
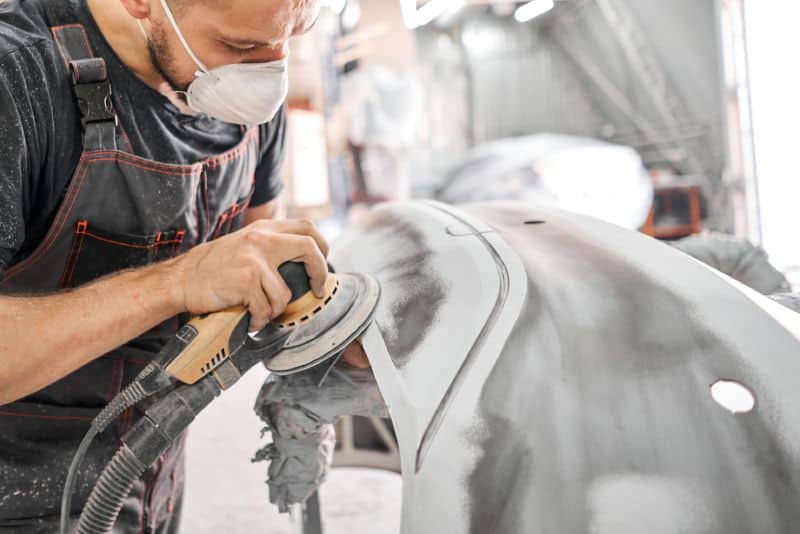
Start with a coarse grit such as the 220-grit sandpaper and progressively move to finer grits. Sand the entire surface and focus on areas that are particularly notched, ensuring they are smoothened.
3. Priming
A primer adds a protective layer and preps the surface for paint adherence while also ensuring the durability of the coating. Make sure the primer is compatible with additional layers you might add later.
4. Painting
Choose automotive-grade paints for the specific 3D printing material and apply multiple coats spaced between sufficient drying time. You can explore painting techniques such as fades, gradients, or stencils to detail the part.
5. Sealing
Pick a clear automotive sealant to protect the painted surface creating an additional layer of defense against moisture, UV rays, and other environmental factors.
THE ADVANTAGES
Coating and filling smoothen visible layer lines and blemishes resulting in a print with an even, aesthetic surface.
The painting process enables designers to customize the appearance, match the vehicle's aesthetic, or even integrate branding elements.
Most 3D printing materials such as PLA can degrade when exposed to elements over time. The sealant serves as a protective layer against environmental factors, maintaining its visual appeal over the long run.
A sealant creates a barrier against moisture, especially for the 3D-printed exterior car components.
2. Gluing and Upholstery
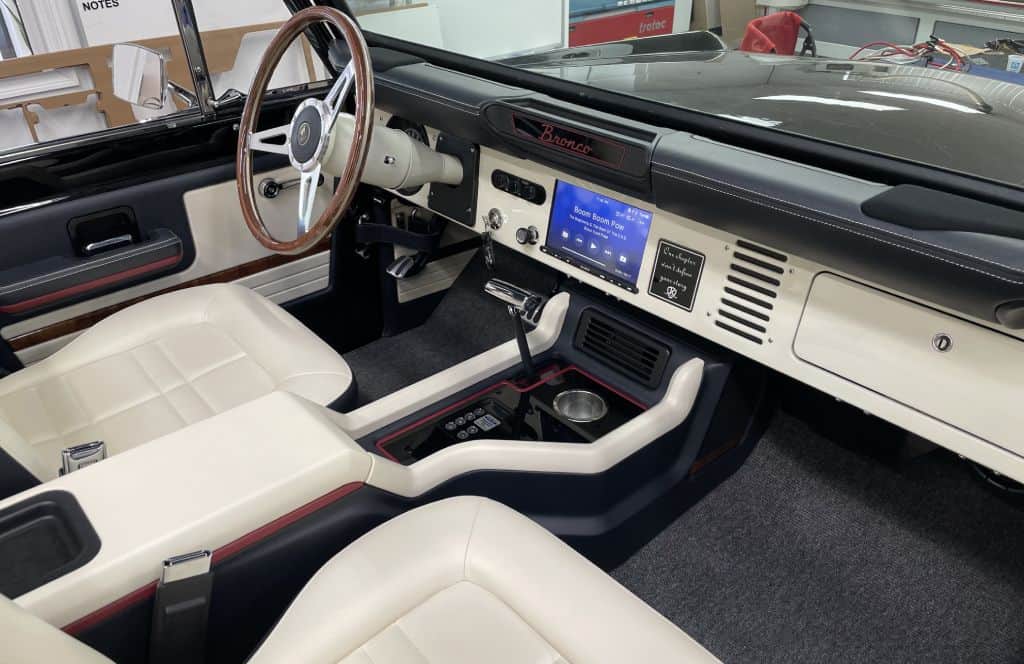
Upholstering is the quickest way to make a vehicle’s interior look incredible and make a world of difference in the comfort level. Different types of upholstery such as fabric, leather, or other materials not only protect the surface but also add softness, comfort, and warmth. Depending on what the part is used for, a layer of padding or cushion is inserted in between and glued, stitched, or stapled to reinforce the parts together. This process creates a durable bond that can withstand loads and stressors while also offering customization, durability, and tactile comfort.
Some of the car parts that are upholstered are usually interior panels on the door, dashboards, central consoles, and other parts such as car trunks.
THE PROCESS
1. Select the Material
Choose a high-quality upholstery depending on the 3D-printed car part. Leather, vinyl, or Alcantara are commonly used for door panels and consoles, and polyester felt roll for the headliner or trunk of the car.
2. Adhere the Foam or Cushion to the 3D Printed Part (optional)
Measure and cut the foam or padding and use compatible glue while considering the properties of both the foam and the 3D printed part. Foam and padding are usually used for door panels and seats as they make them soft to the touch.
3. Measure and Cut the Upholstery
Trace a 2–3-inch gap on the material around the part and cut it so that there’s enough room for the material to stretch and adhere snugly to the part.
4. Apply the Adhesive
Glue the upholstery with the foam or the 3D print by applying adhesive to both parts.
5. Reinforce the Adhesion by Stapling and/or Sewing a French Seam
Stapling and stitching are other techniques that secure the material in place while also creating visual interest.
6. Trim the Excess Material
Carefully cut off any leftover upholstery, paying close attention to the corners and edges.
Types of Upholstery
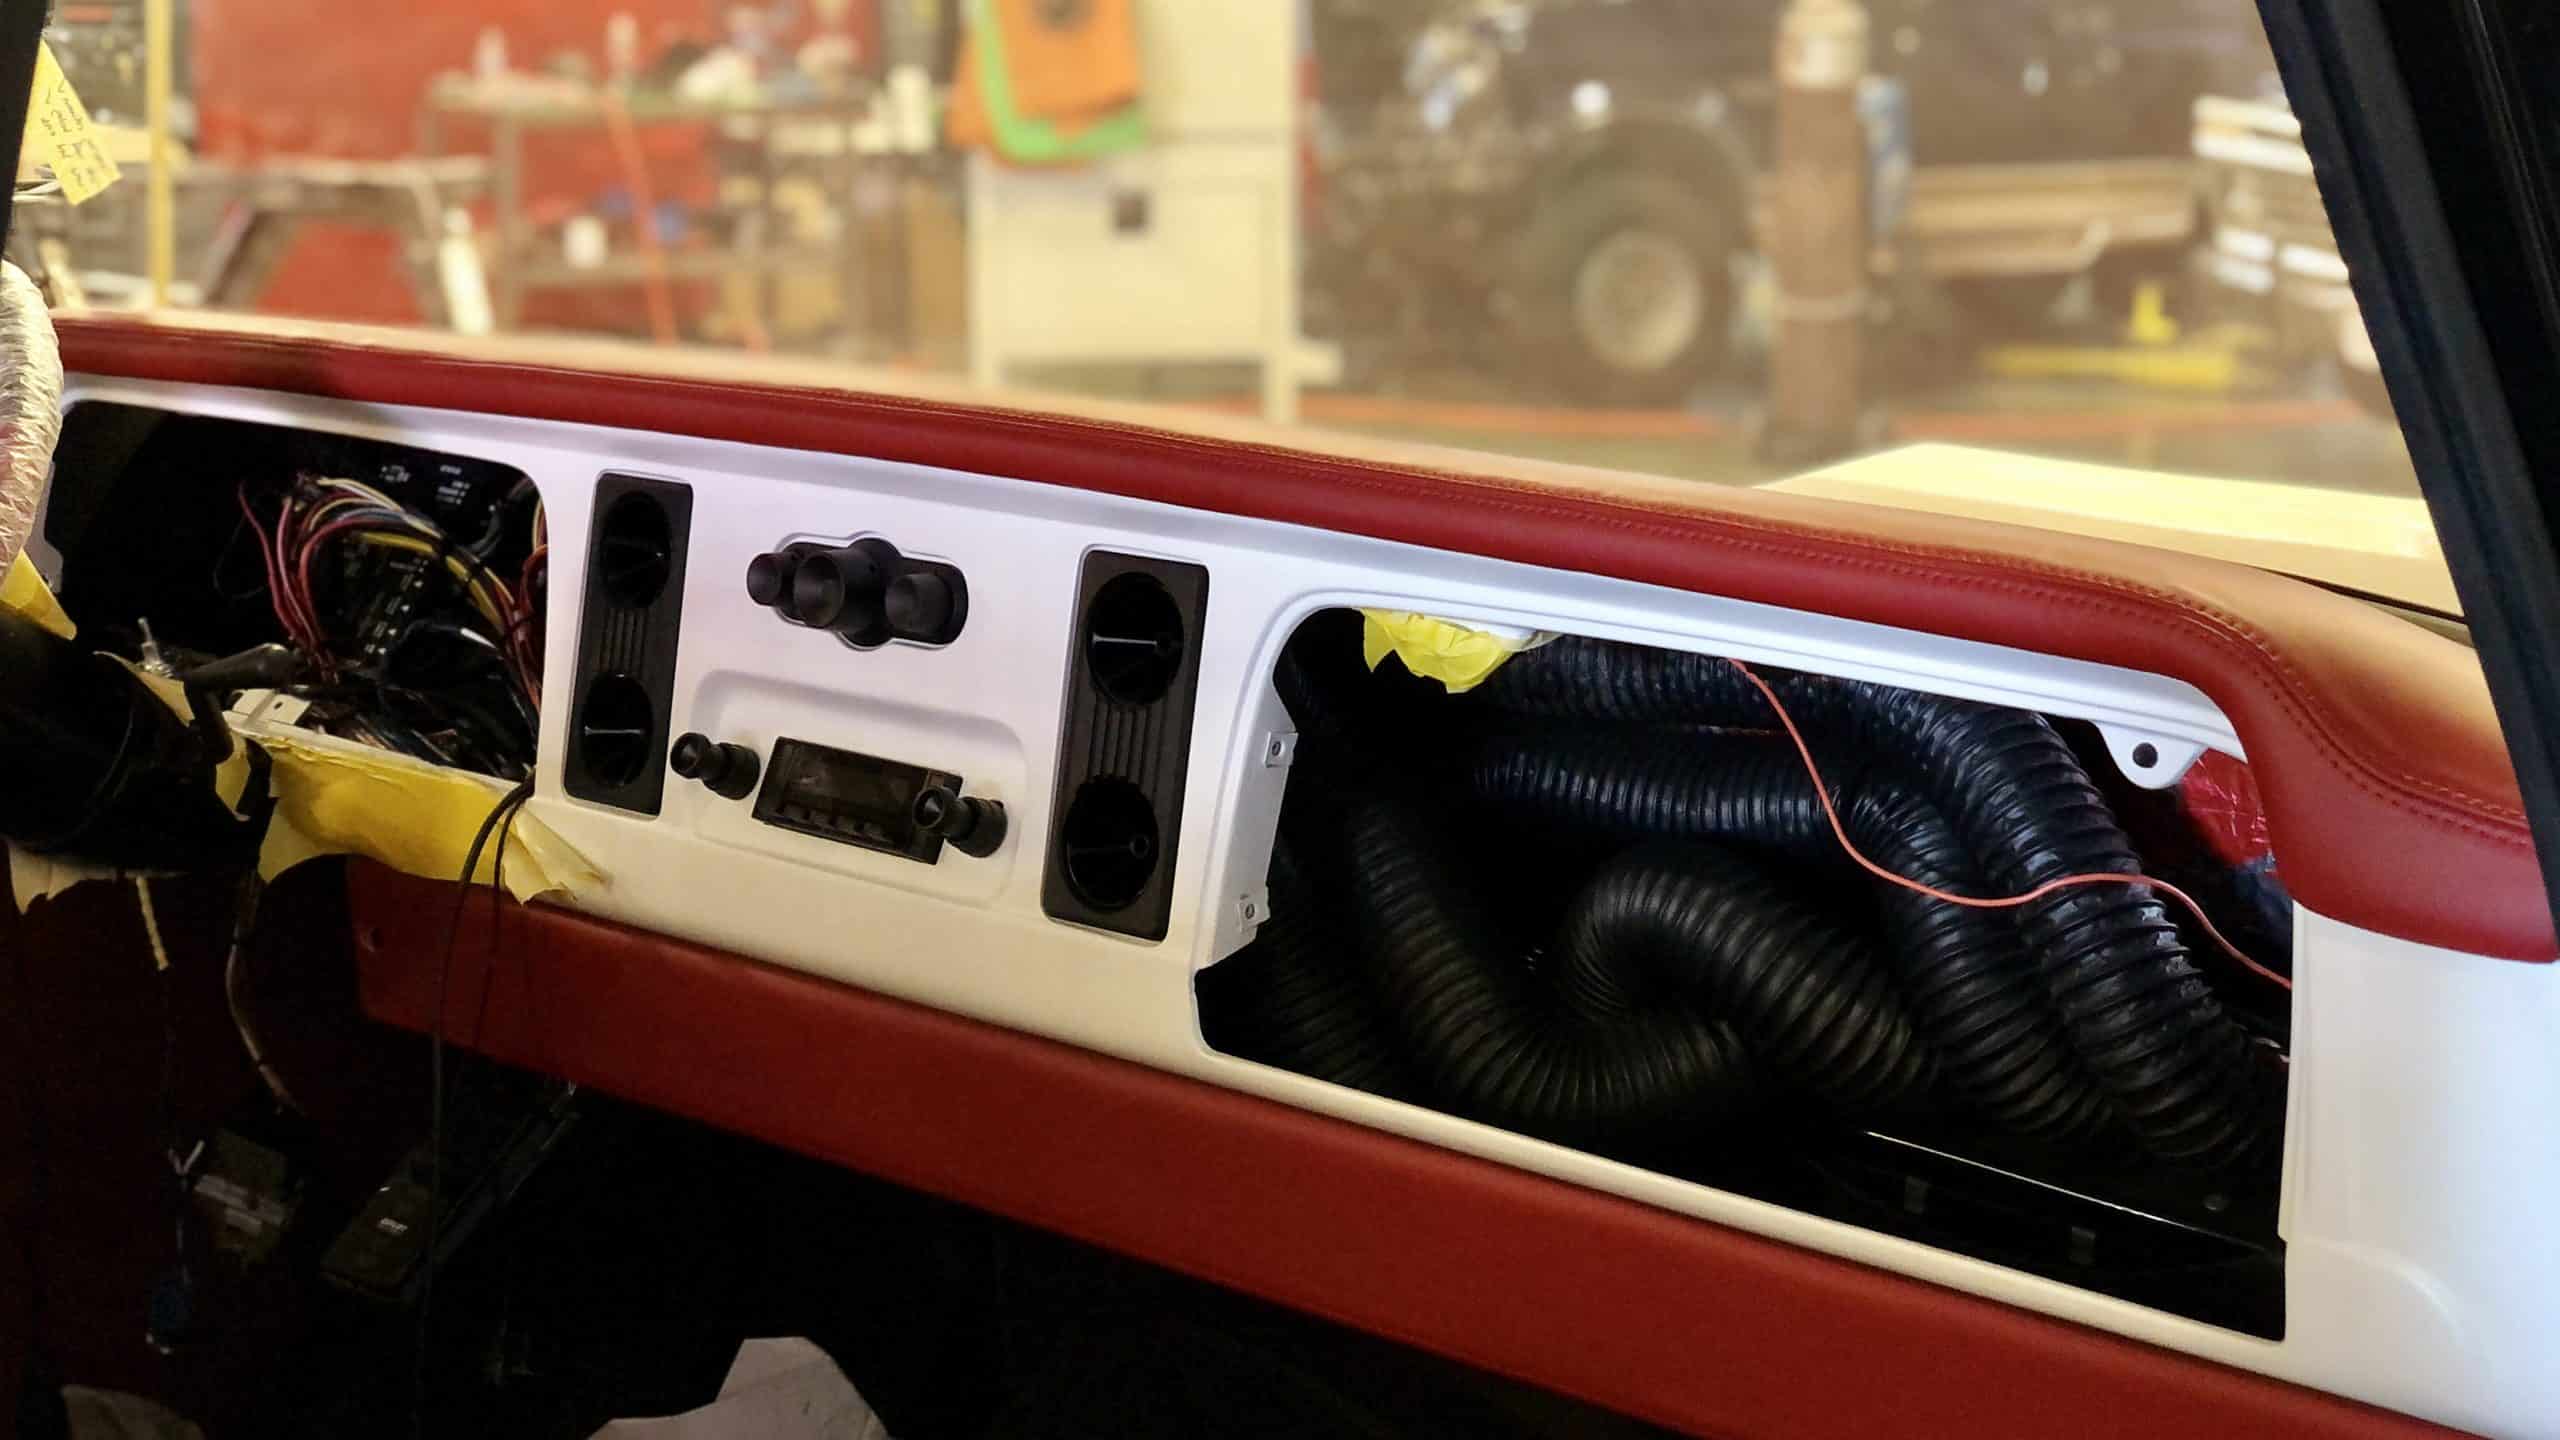
- Leather wrapped around 3D-printed parts upgrades the overall aesthetic and tactile comfort of the part.
- Vinyl is a popular choice as it is highly abrasion, water, and UV resistant. It mimics the look and feel of leather and is a popular choice for upholstery as it’s affordable and easy to maintain.
- Alcantara is a synthetic suede-like material, it's soft, durable, and frequently used for interior surfaces such as seats, door panels, and steering wheel covers.
- Fabrics such as cloth, microfiber, mesh, and nylon come in a wide range of textures, patterns, and colors. They are known for their comfort and abrasion resistance properties making them a good fit for interior car parts.
- Polyester fabrics also come in a wide range of patterns and colors and their biggest strength is that they don’t wrinkle easily.
- Polyester Felt Roll is made from polyester fibers that are entangled and compressed to form a non-woven fabric and are commonly used in car trunks.
THE ADVANTAGES
Upholstery like leather or Alcantara has a texture that makes the car part soft and ergonomic, improving the user experience.
Upholstering brings different components together applying the same look and feel to the car interior creating a unified design language.
Quality upholstery materials form a protective layer that can withstand regular usage, and resist stains, fading, and damage, ensuring a lasting visual aesthetic.
Upholstery can be designed with logos, labels, or a color scheme and tie the vehicle together visually.
3. Foiling or Wrapping
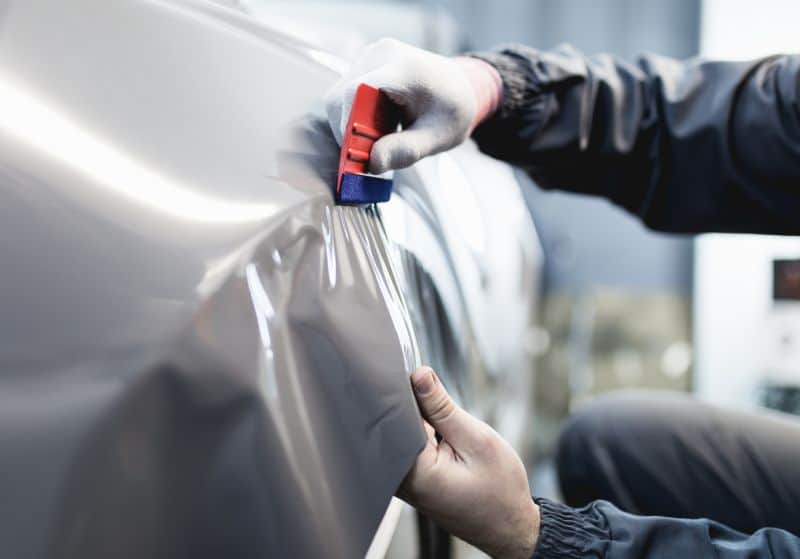
Wrapping or foiling is typically for exterior parts of the car, or the entire vehicle adhered with a thin, adhesive-backed material such as vinyl. Foiling can change the vehicle's color, add graphics, or create a protective layer. If you are looking to automate the process, vacuum foiling produces quicker, precise results ensuring the material wraps around the part as perfectly as possible.
3D-printed car parts that are commonly foiled and wrapped are spoilers, fenders, side skirts, grilles, and mirror covers, as well as interior parts like the dashboard and center console.
THE PROCESS
1. Prepare the Surface
Ensure the surface of the 3D-printed part is clean and free of any dust, debris, or contaminants so it doesn’t come in the way of adhesion.
2. Pick the Material
Choose your foiling or wrapping material based on the finish, color, or texture you are going for.
3. Measure and Cut the Foil
Similar to the upholstering method, trace a 2–3-inch gap on the wrap around the part and cut it so that there’s enough room for the foil to be wrapped around and adhered to the part.
4. Apply it to the Part
Starting from one edge and working towards the opposite side, smooth out the wrap with a squeegee onto the 3D-printed part to avoid air bubbles or wrinkles.
5. Use a Hot Air Dryer (Optional)
Complex shapes are more difficult to foil, and it might be easier to conform the material using a heat gun or a hot air dryer set to around 70 to 85 degrees. The heat makes the wrap more flexible and bends into little nooks and crevices.
6. Trim the Excess
Once the material is applied, trim off the excess using a cutter knife, paying close attention to corners and edges for a clean finish.
Types of Wraps and Foils
- Carbon Fiber Wrap mimics the appearance of real carbon fiber and is often used for interior trims, exterior accents, and spoilers. While they don’t have the structural benefits of real carbon fiber, these wraps are a lightweight and cost-effective alternative.
- Vinyl Wraps are thin and adhesive-backed, offering flexibility and durability. They are available in a multitude of colors and finishes making them one of the most commonly applied treatments for customized car parts.
- Paint Protection Films (PPF) are transparent, self-healing urethane film that protects against chips and scratches while preserving the original paint color.
- Hydrographics or Water Transfer Printing transfers designs or patterns onto 3D printed parts by immersing them in water.
- Brushed Metal Wraps exude the appearance of a brushed metal surface delivering an industrial finish to the 3D-printed car part.
- Reflective Wraps enhance visibility in low-light conditions and make it safer to drive in the dark.
- Chrome Wraps are reflective, and mirror-like having a highly shiny surface. They are used to accent certain parts or at times wrap the whole car.
THE ADVANTAGES
Wraps can be treated onto the car part relatively quickly compared to other post-processing methods as they involve fewer steps.
If the wrap gets damaged or the client has a change of heart, it can easily be swapped out within a short time and at a low cost.
Unlike traditional painting, wrapping does not need extended periods in the workshop, allowing it to be on the road sooner.
Wraps are easy to clean and maintain, simplifying the process of keeping the vehicle looking fresh.
4. Sanding and Epoxy Coating
This technique pairs a subtractive post-processing method with an additive one to finish a part that requires a short downtime before taking its final form. The 3D-printed part’s surface is sanded to a uniform base to build upon. Epoxy, especially self-leveling epoxy, is particularly easy to use as it strikes a balance—neither too drippy nor too thick—resulting in parts with a reflective aesthetic finish and also a reliable grip.
3D-printed car parts that are sanded, and epoxy coated are mirror housings, door handles, dashboard elements, and control panels.
THE PROCESS
1. Sand the Surface
Lightly sand the surface to refine and create a gritty base the epoxy can easily adhere to.
2. Sit the Part on an Elevated Level
Using a sacrificial block or a similar tool, set the part at an elevated height so it can be painted from all sides.
3. Prepare the Epoxy Mixture
Mix the resin and the hardener in a plastic container and take care not to let the mixture sit too long before the application.
4. Apply with a Brush
With a right-sized brush, coat the epoxy evenly onto the part to a consistent finish.
5. Allow it to Cure
Give the finish enough time to become tacky before applying additional layers. As epoxy cure times can vary widely, the curing time between layers or after a final coat should be checked in the technical data sheet for the epoxy you use. Keep in mind that epoxy will cure faster in warm environments or may not cure at all if the temperature is too low. Room temperature is usually recommended for proper curing.
THE ADVANTAGES
The process of sanding and epoxy coating doesn’t require an array of tools, intricate techniques, or a high level of skill making it an easy process to execute.
The epoxy coating enhances the grip on the surface of the car part, giving you a secure and tactile surface while using it.
The finish lends a long life to the coated part and imparts a glossy finish, enhancing the overall aesthetic.
This post-processing method forms a protective barrier, guarding the 3D-printed car part against wear, abrasion, and external elements. It also can penetrate porous substrates making the car parts more waterproof.
5. Post Processing Molds for Car Parts
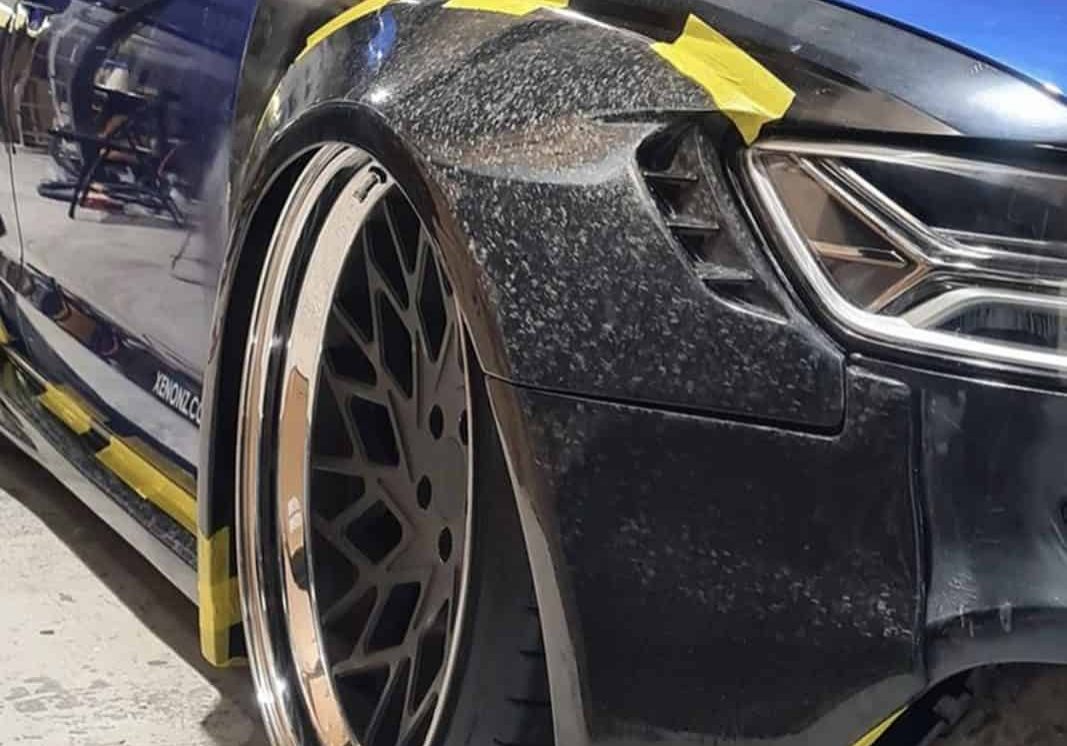
3D-printed molds for car parts are produced for materials like fiberglass or carbon fiber. While post-processing them, the main goals are to have a high-quality surface finish on the final molded part and to make it easier to release the molded part. For this, the finishing process follows a sequence of steps such as filling, sanding, and sealing.
Commonly 3D-printed molds post-processed for car parts are bumpers, body panels, spoilers, side skirts, grills, and air vents.
THE PROCESS
1. Filling
Filling or coating smoothens out any imperfections or layer lines and creates a uniform surface on the mold. It is essential for the inside of the mold to have an even surface as any irregularities will reflect on the molded part.
2. Sanding
The mold surface is further refined by sanding with coarse grit such as the 220-grit sandpaper and you can achieve smoother finishes by advancing to finer grits.
3. Sealing
A sealant wraps up the process forming a protective layer ensuring durability, keeping moisture away, and creating a polished surface that makes it easy to release the molded part.
THE ADVANTAGES
The post-processed molds result in a smooth and refined surface delivering a higher quality impression onto the molded parts.
Sealants and coatings enhance the durability of the mold, protecting it from regular use.
The smooth interior of the mold along with a mold release agent makes it easy to release the part. This safeguards the mold and the part during the removal stage.
Sealants act as a barrier against elements, preventing distortion or degradation of the mold which is particularly important when using materials sensitive to humidity.
Investing time in post-processing molds pays off in the long run by extending mold life and reducing the need for frequent replacements.
Perfection to the Finish Line

Post-processing parts are more than just the surface level.
They are no longer an afterthought but a strategy to stay ahead of the curve and deliver top-notch aftermarket services by producing quality end-use car parts with professional-grade finishes. Leveraging finishing techniques improves functionality, saves time and money, strengthens parts, and ensures superior 3D printed products and services for the automotive car aftermarket.
Want to learn more about Post-Processing 3D-Printed Car Parts?
Register to watch the webinar, Ideation to Installation: 3D Printed Parts for Aftermarket Car Customization
From fabricating carbon fiber molds to perfectly finished speaker enclosures, the automotive aftermarket explores all avenues of 3D printing applications. Hear from JT Torres, owner of Automotive Entertainment, about how 3D printing takes the front seat in delivering bespoke interior door panels, center consoles, and a range of custom car parts.
IDEATION TO INSTALLATION: 3D PRINTED PARTS FOR AFTERMARKET CAR CUSTOMIZATION
