Finished to Perfection: Post Processing Techniques for 3D Printed Car Parts

aftermarket_blog_photo_1 (1)

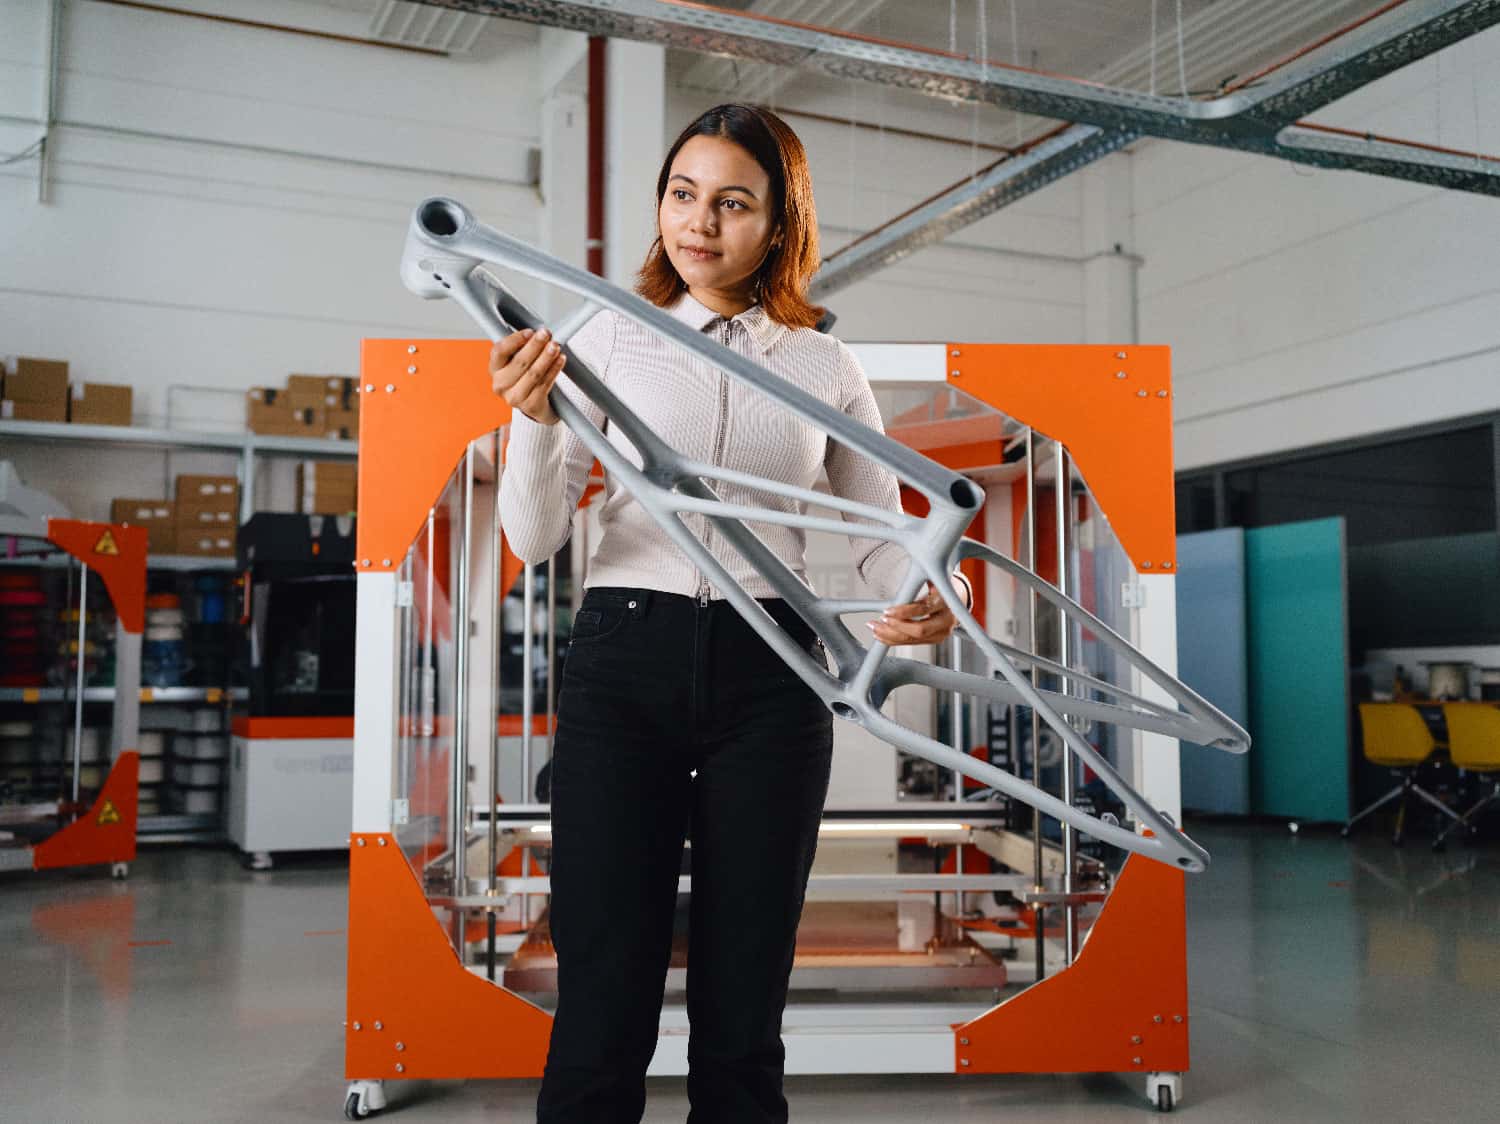
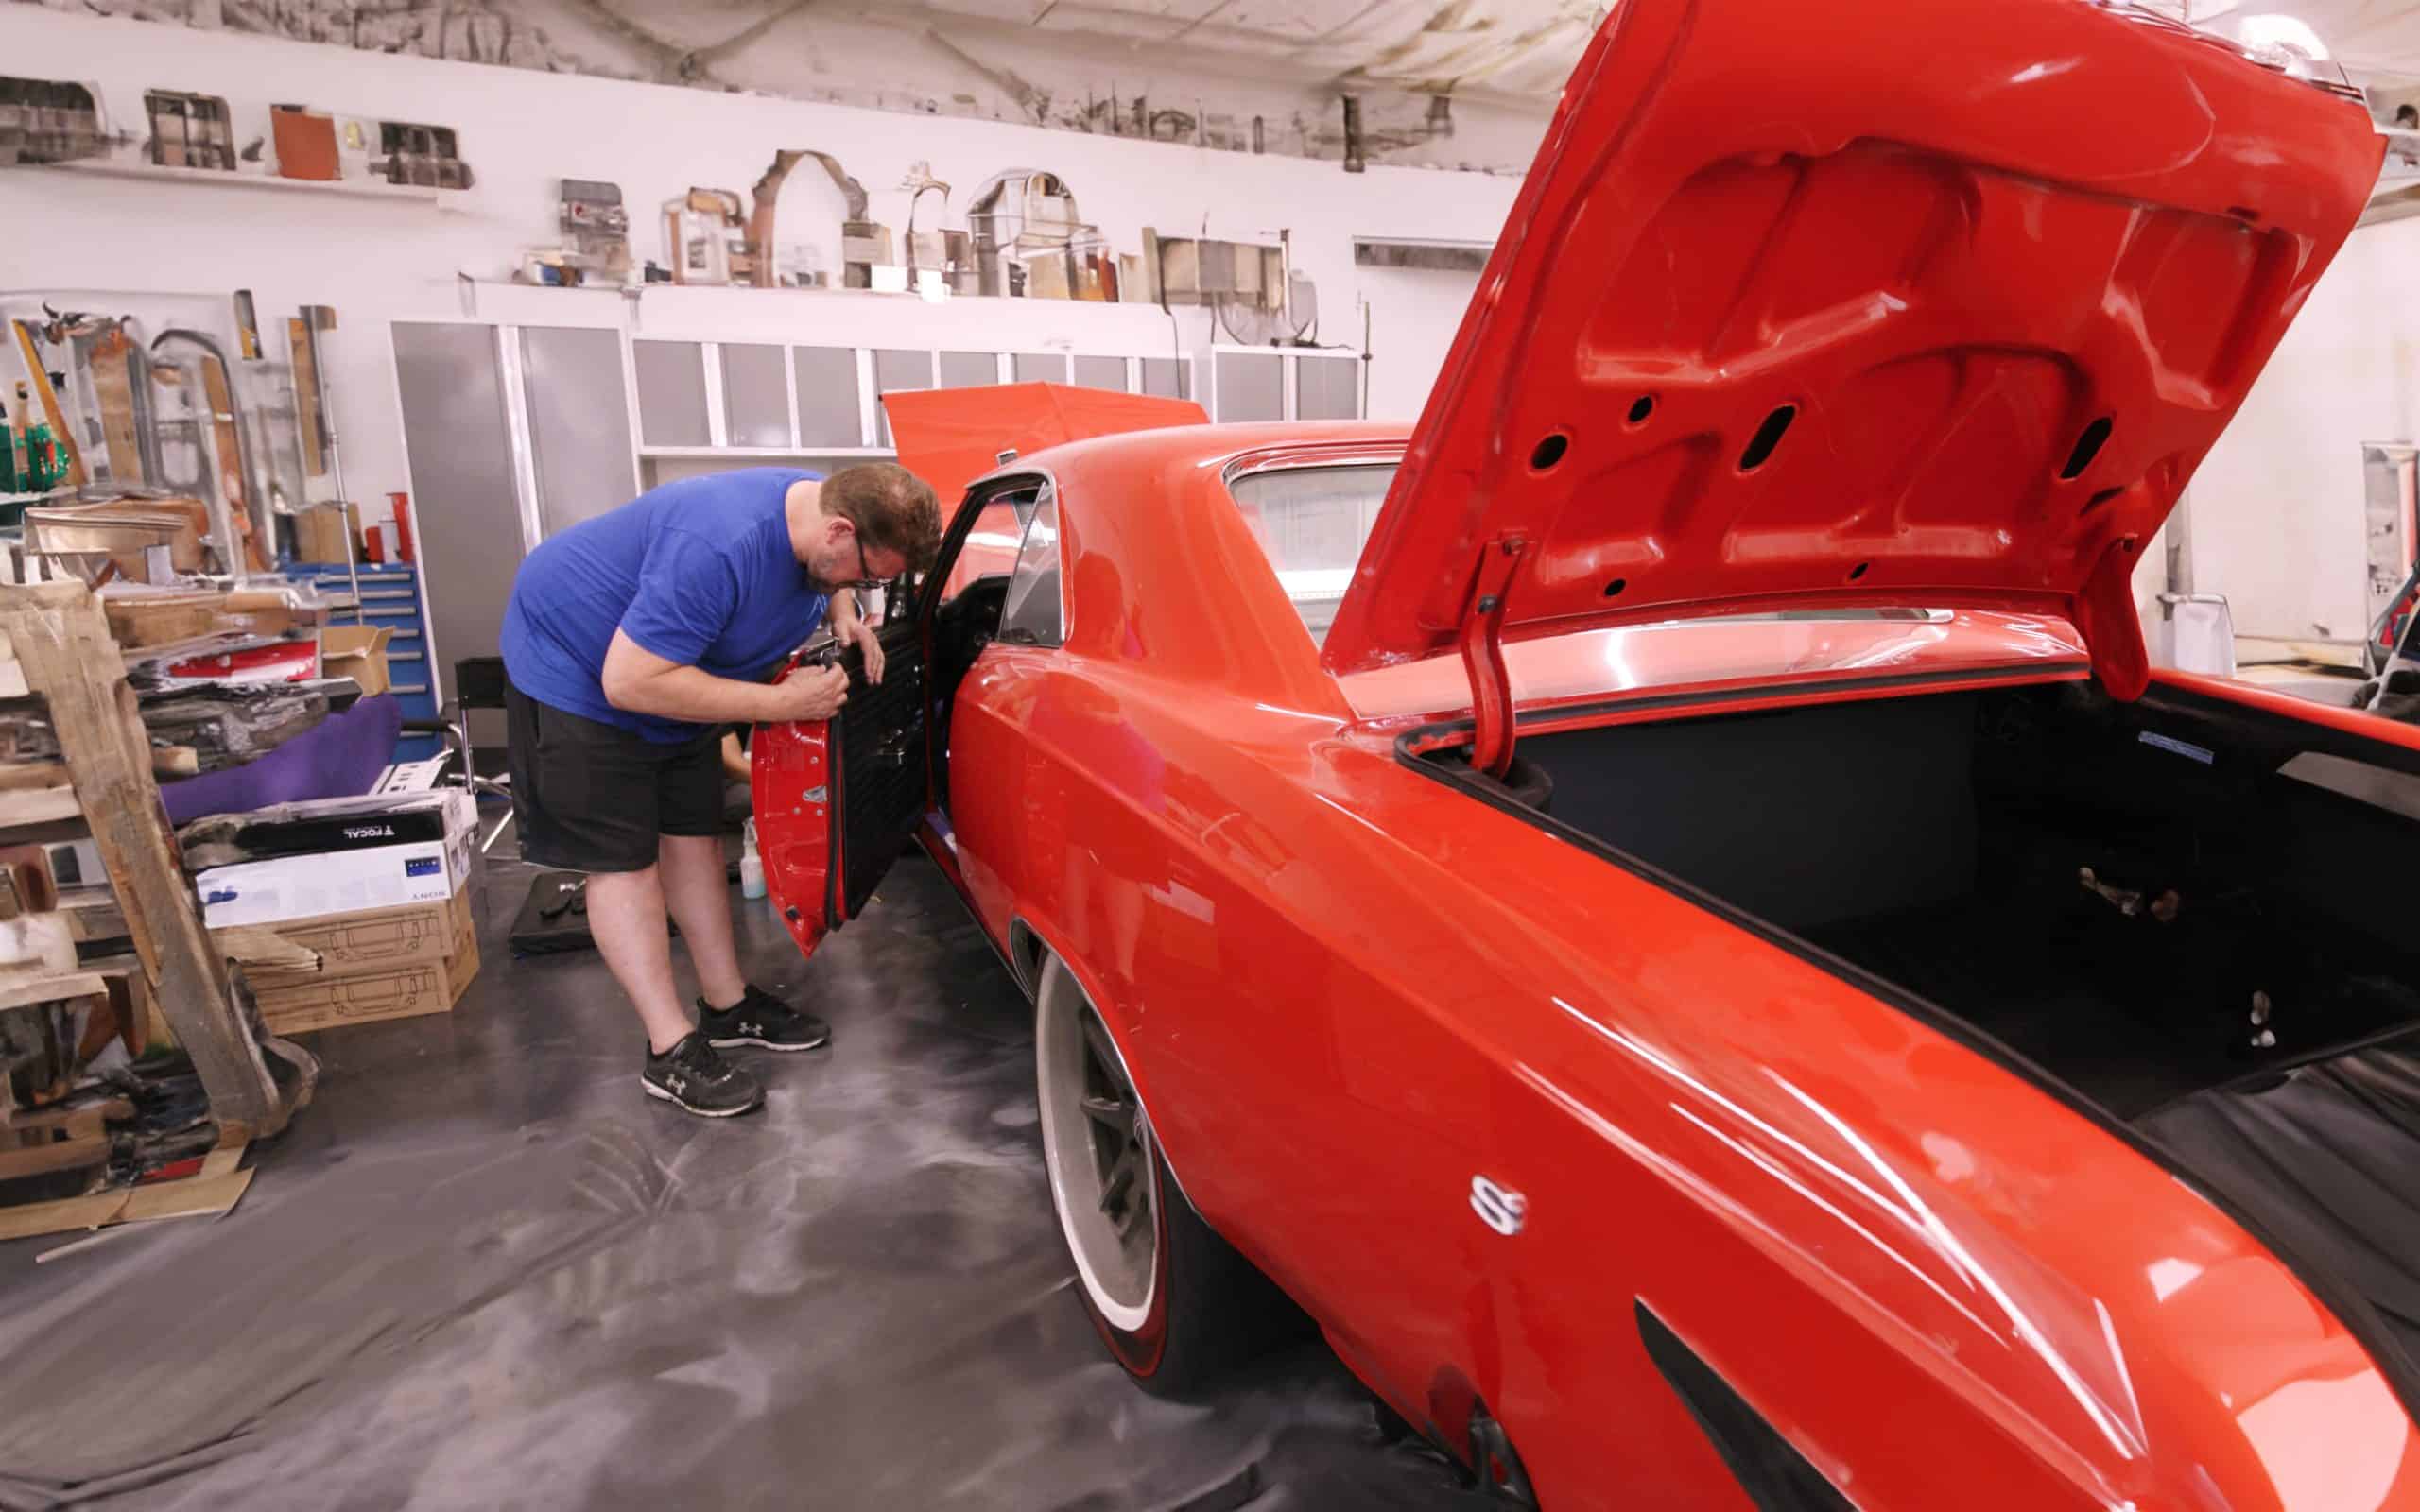
From upgrading vintage cars to powering high-performance race cars, 3D printing caters to a range of automotive applications replete with professional-grade finishes. While some prints are good to go fresh off the print bed, some need finishing touches before reaching their final functional form.

3D printing builds parts by laying layer upon layer of melted plastic leaving pronounced ridges, especially with lower print resolutions. Also, support structure removal can leave behind a marred surface that needs to be further processed. Different post-processing techniques smoothen and treat the surface to make the final part not only visually stunning but also structurally robust blending form with function.

In this guide, we explore the 3 primary post-processing types - additive, subtractive, and property-changing methods and combinations of these techniques for the finishing of the 3D-printed car parts.

Post-Processing Methods

3D Print Post Processing Powder Coating

1. Additive post-processing

adds material onto the 3D printed parts to fill in the irregularities, smoothen the surface, and enhance mechanical and functional properties.

Examples: Filling, priming, brush coating, spray coating, foiling, dip coating, metal plating, powder coating, and ceramic finishes like Cerakote coating.

2. Subtractive post-processing

takes away part of the surface to create a uniform look and feel. It is the most common post-processing method used for 3D-printed car parts.

Examples: Sanding and polishing, tumbling, abrasive blasting (sand blasting), CNC machining (milling), and chemical dipping.

The dashboard is post processed.
3D Print Post Processing Local Melting

3. Property-changing post-processing

rearranges the molecules of a 3D print’s surface to improve the strength and evenness of the object. It doesn’t add or take away from the print resulting in cleaner and stronger parts achieved from thermal and chemical treatments.

Examples: Local melting, annealing, and vapor smoothing.

While each of these methods treats the surface in different ways, depending on the function, there are tried and tested combinations for different car parts that are advantageous for aesthetics and functionality.

Aesthetic and Functional Post-Processing Techniques for 3D Printed Car Parts

Automotive Customization with 3D Printed Car Parts

The 3d printed car parts can go through a combination of finishing techniques to achieve an enhanced surface finish, geometric accuracy, aesthetics, added mechanical properties, and improved usability. While some car components like dashboards might need only sanding and coating, other parts that are load-bearing such as a wheel accessory might require sequential finishing treatments for optimal performance. Apart from the improved look and feel, the post-processing steps have added benefits such as strengthening, UV resistance, tolerance towards higher temperatures, and protecting the part from regular wear and tear like bumps and scratches.

Some of the key advantages are:

  • Smoothing the surface of printed parts to achieve roughness values acceptable for end-use parts.
  • Certain post-processing methods strengthen the prints so that they may withstand increased stress and pressure.
  • Specific additive post-processing methods can change the material properties of the surface (e.g. waterproofing, UV resistance, corrosion resistance).

1. Coating or Filling, Sanding, Painting, and Sealing

This process employs coating or filling to address surface imperfections, sanding to refine the texture, painting to add color and protection, and sealing to ensure durability.

Some of the 3D-printed car parts that are post-processed with this method are console elements, custom brackets and mounts, plate covers, fenders, and speaker covers.

3d-print-post-processing-sanding-polishing

THE PROCESS

1. Coating or Filling
The coating or filler depends on the type of 3D printing filament used as they differ in surface texture, porosity, and adhesion properties. Fill the visible layer lines, gaps, or imperfections, and allow enough time for the coating or filler to cure.

2. Sanding
Start with a coarse grit such as the 220-grit sandpaper and progressively move to finer grits. Sand the entire surface and focus on areas that are particularly notched, ensuring they are smoothened.

3. Priming
A primer adds a protective layer and preps the surface for paint adherence while also ensuring the durability of the coating. Make sure the primer is compatible with additional layers you might add later.

4. Painting
Choose automotive-grade paints for the specific 3D printing material and apply multiple coats spaced between sufficient drying time. You can explore painting techniques such as fades, gradients, or stencils to detail the part.

5. Sealing
Pick a clear automotive sealant to protect the painted surface creating an additional layer of defense against moisture, UV rays, and other environmental factors.

THE ADVANTAGES

Surface Quality

Coating and filling smoothen visible layer lines and blemishes resulting in a print with an even, aesthetic surface.

The painting process enables designers to customize the appearance, match the vehicle's aesthetic, or even integrate branding elements.

Customizable Design

Enhanced Durability

Most 3D printing materials such as PLA can degrade when exposed to elements over time. The sealant serves as a protective layer against environmental factors, maintaining its visual appeal over the long run.

A sealant creates a barrier against moisture, especially for the 3D-printed exterior car components.

Water Resistance

2. Gluing and Upholstery

Upholstering is the quickest way to make a vehicle’s interior look incredible and make a world of difference in the comfort level.  Different types of upholstery such as fabric, leather, or other materials not only protect the surface but also add softness, comfort, and warmth. Depending on what the part is used for, a layer of padding or cushion is inserted in between and glued, stitched, or stapled to reinforce the parts together. This process creates a durable bond that can withstand loads and stressors while also offering customization, durability, and tactile comfort.

Some of the car parts that are upholstered are usually interior panels on the door, dashboards, central consoles, and other parts such as car trunks.

FDM 3D Printed Car Interior

THE PROCESS

1. Select the Material
Choose a high-quality upholstery depending on the 3D-printed car part. Leather, vinyl, or Alcantara are commonly used for door panels and consoles, and polyester felt roll for the headliner or trunk of the car.

2. Adhere the Foam or Cushion to the 3D Printed Part (optional)
Measure and cut the foam or padding and use compatible glue while considering the properties of both the foam and the 3D printed part. Foam and padding are usually used for door panels and seats as they make them soft to the touch.

3. Measure and Cut the Upholstery
Trace a 2–3-inch gap on the material around the part and cut it so that there’s enough room for the material to stretch and adhere snugly to the part.

4. Apply the Adhesive
Glue the upholstery with the foam or the 3D print by applying adhesive to both parts.

5. Reinforce the Adhesion by Stapling and/or Sewing a French Seam
Stapling and stitching are other techniques that secure the material in place while also creating visual interest.

6. Trim the Excess Material
Carefully cut off any leftover upholstery, paying close attention to the corners and edges.

Types of Upholstery

The finished dashboard is installed in the car.
  1. Leather wrapped around 3D-printed parts upgrades the overall aesthetic and tactile comfort of the part.
  2. Vinyl is a popular choice as it is highly abrasion, water, and UV resistant. It mimics the look and feel of leather and is a popular choice for upholstery as it’s affordable and easy to maintain.
  3. Alcantara is a synthetic suede-like material, it's soft, durable, and frequently used for interior surfaces such as seats, door panels, and steering wheel covers.
  4. Fabrics such as cloth, microfiber, mesh, and nylon come in a wide range of textures, patterns, and colors. They are known for their comfort and abrasion resistance properties making them a good fit for interior car parts.
  5. Polyester fabrics also come in a wide range of patterns and colors and their biggest strength is that they don’t wrinkle easily.
  6. Polyester Felt Roll is made from polyester fibers that are entangled and compressed to form a non-woven fabric and are commonly used in car trunks.

THE ADVANTAGES

Tactile Comfort

Upholstery like leather or Alcantara has a texture that makes the car part soft and ergonomic, improving the user experience.

Upholstering brings different components together applying the same look and feel to the car interior creating a unified design language.

Visually Cohesive

Protection and Durability

Quality upholstery materials form a protective layer that can withstand regular usage, and resist stains, fading, and damage, ensuring a lasting visual aesthetic.

Upholstery can be designed with logos, labels, or a color scheme and tie the vehicle together visually.

Branded Customization

3. Foiling or Wrapping

Wrapping or foiling is typically for exterior parts of the car, or the entire vehicle adhered with a thin, adhesive-backed material such as vinyl. Foiling can change the vehicle's color, add graphics, or create a protective layer. If you are looking to automate the process, vacuum foiling produces quicker, precise results ensuring the material wraps around the part as perfectly as possible.

3D-printed car parts that are commonly foiled and wrapped are spoilers, fenders, side skirts, grilles, and mirror covers, as well as interior parts like the dashboard and center console.

3D Print Post Processing Foiling

THE PROCESS

1. Prepare the Surface
Ensure the surface of the 3D-printed part is clean and free of any dust, debris, or contaminants so it doesn’t come in the way of adhesion.

2. Pick the Material
Choose your foiling or wrapping material based on the finish, color, or texture you are going for.

3. Measure and Cut the Foil
Similar to the upholstering method, trace a 2–3-inch gap on the wrap around the part and cut it so that there’s enough room for the foil to be wrapped around and adhered to the part.

4. Apply it to the Part
Starting from one edge and working towards the opposite side, smooth out the wrap with a squeegee onto the 3D-printed part to avoid air bubbles or wrinkles.

5. Use a Hot Air Dryer (Optional)
Complex shapes are more difficult to foil, and it might be easier to conform the material using a heat gun or a hot air dryer set to around 70 to 85 degrees. The heat makes the wrap more flexible and bends into little nooks and crevices.

6. Trim the Excess
Once the material is applied, trim off the excess using a cutter knife, paying close attention to corners and edges for a clean finish.

Types of Wraps and Foils

  1. Carbon Fiber Wrap mimics the appearance of real carbon fiber and is often used for interior trims, exterior accents, and spoilers. While they don’t have the structural benefits of real carbon fiber, these wraps are a lightweight and cost-effective alternative.
  2. Vinyl Wraps are thin and adhesive-backed, offering flexibility and durability. They are available in a multitude of colors and finishes making them one of the most commonly applied treatments for customized car parts.
  3. Paint Protection Films (PPF) are transparent, self-healing urethane film that protects against chips and scratches while preserving the original paint color.
  4. Hydrographics or Water Transfer Printing transfers designs or patterns onto 3D printed parts by immersing them in water.
  5. Brushed Metal Wraps exude the appearance of a brushed metal surface delivering an industrial finish to the 3D-printed car part.
  6. Reflective Wraps enhance visibility in low-light conditions and make it safer to drive in the dark.
  7. Chrome Wraps are reflective, and mirror-like having a highly shiny surface. They are used to accent certain parts or at times wrap the whole car.

THE ADVANTAGES

Quick Installation

Wraps can be treated onto the car part relatively quickly compared to other post-processing methods as they involve fewer steps.

If the wrap gets damaged or the client has a change of heart, it can easily be swapped out within a short time and at a low cost.

Reversible Customization

Lack of Downtime

Unlike traditional painting, wrapping does not need extended periods in the workshop, allowing it to be on the road sooner.

Wraps are easy to clean and maintain, simplifying the process of keeping the vehicle looking fresh.

Easy Maintenance

4.  Sanding and Epoxy Coating

This technique pairs a subtractive post-processing method with an additive one to finish a part that requires a short downtime before taking its final form. The 3D-printed part’s surface is sanded to a uniform base to build upon. Epoxy, especially self-leveling epoxy, is particularly easy to use as it strikes a balance—neither too drippy nor too thick—resulting in parts with a reflective aesthetic finish and also a reliable grip.

3D-printed car parts that are sanded, and epoxy coated are mirror housings, door handles, dashboard elements, and control panels.

THE PROCESS

1. Sand the Surface
Lightly sand the surface to refine and create a gritty base the epoxy can easily adhere to.

2. Sit the Part on an Elevated Level
Using a sacrificial block or a similar tool, set the part at an elevated height so it can be painted from all sides.

3. Prepare the Epoxy Mixture
Mix the resin and the hardener in a plastic container and take care not to let the mixture sit too long before the application.

4. Apply with a Brush
With a right-sized brush, coat the epoxy evenly onto the part to a consistent finish.

5. Allow it to Cure
Give the finish enough time to become tacky before applying additional layers. As epoxy cure times can vary widely, the curing time between layers or after a final coat should be checked in the technical data sheet for the epoxy you use. Keep in mind that epoxy will cure faster in warm environments or may not cure at all if the temperature is too low. Room temperature is usually recommended for proper curing.

THE ADVANTAGES

Straightforward Process

The process of sanding and epoxy coating doesn’t require an array of tools, intricate techniques, or a high level of skill making it an easy process to execute.

The epoxy coating enhances the grip on the surface of the car part, giving you a secure and tactile surface while using it.

Improved Grip

Durable & Glossy Finish

The finish lends a long life to the coated part and imparts a glossy finish, enhancing the overall aesthetic.

This post-processing method forms a protective barrier, guarding the 3D-printed car part against wear, abrasion, and external elements. It also can penetrate porous substrates making the car parts more waterproof.

Guards Against Wear & Tear

5.  Post Processing Molds for Car Parts

3D-printed molds for car parts are produced for materials like fiberglass or carbon fiber. While post-processing them, the main goals are to have a high-quality surface finish on the final molded part and to make it easier to release the molded part. For this, the finishing process follows a sequence of steps such as filling, sanding, and sealing.

Commonly 3D-printed molds post-processed for car parts are bumpers, body panels, spoilers, side skirts, grills, and air vents.

The final carbon fibre part created with a 3D printed mold.

THE PROCESS

1. Filling
Filling or coating smoothens out any imperfections or layer lines and creates a uniform surface on the mold. It is essential for the inside of the mold to have an even surface as any irregularities will reflect on the molded part.

2. Sanding
The mold surface is further refined by sanding with coarse grit such as the 220-grit sandpaper and you can achieve smoother finishes by advancing to finer grits.

3. Sealing
A sealant wraps up the process forming a protective layer ensuring durability, keeping moisture away, and creating a polished surface that makes it easy to release the molded part.

THE ADVANTAGES

Enhanced Surface Quality

The post-processed molds result in a smooth and refined surface delivering a higher quality impression onto the molded parts.

Sealants and coatings enhance the durability of the mold, protecting it from regular use.

Improved Mold Durability

Easy Part Removal

The smooth interior of the mold along with a mold release agent makes it easy to release the part. This safeguards the mold and the part during the removal stage.

Sealants act as a barrier against elements, preventing distortion or degradation of the mold which is particularly important when using materials sensitive to humidity.

Prevents Moisture Absorption

Time and Cost Efficiency

Investing time in post-processing molds pays off in the long run by extending mold life and reducing the need for frequent replacements.

Perfection to the Finish Line

Automotive-industry-3d-printing-Bigrep

Post-processing parts are more than just the surface level.

They are no longer an afterthought but a strategy to stay ahead of the curve and deliver top-notch aftermarket services by producing quality end-use car parts with professional-grade finishes. Leveraging finishing techniques improves functionality, saves time and money, strengthens parts, and ensures superior 3D printed products and services for the automotive car aftermarket.

Want to learn more about Post-Processing 3D-Printed Car Parts?

Register to watch the webinar, Ideation to Installation: 3D Printed Parts for Aftermarket Car Customization

From fabricating carbon fiber molds to perfectly finished speaker enclosures, the automotive aftermarket explores all avenues of 3D printing applications. Hear from JT Torres, owner of Automotive Entertainment, about how 3D printing takes the front seat in delivering bespoke interior door panels, center consoles, and a range of custom car parts.

IDEATION TO INSTALLATION: 3D PRINTED PARTS FOR AFTERMARKET CAR CUSTOMIZATION

About the author:

Natasha Mathew <a style="color: #0077b5" href="https://www.linkedin.com/in/natasha-mathew/" target="_blank" rel="noopener"><i class="fab fa-linkedin"></i></a>

Natasha Mathew

Copywriter

Natasha Mathew enjoys trying new things and one of them she’s currently obsessed with is 3D printing. Her passion for explaining complex concepts in simple terms and her knack for storytelling led her to be a writer. In her 7 years of experience, she has covered just about any topic under the sun. When she’s not carefully weighing her words, she’s reading, crafting, spinning, and adventuring. And when asked about herself, she writes in the third person.

The Definitive Guide to 3D Printing: The Past, Present, and Future

BigRep ONE.4 Large-Format 3D Printer

From its humble beginnings as a niche technology for rapid prototyping to its current spectrum of capabilities to create forms that are virtually impossible to build any other way, 3D printing has spawned a brand-new generation of manufacturing.

In this article, we’ll take a look at the origins of 3D printing, its big moments in history, applications, and explore the future it holds.

1. The Basics of 3D Printing

What Is 3D Printing and How It Works

3D printing, also known as additive manufacturing, is a process of building a physical object from a three-dimensional digital model. It creates an object by laying down successive thin layers of a material such as plastic, metal, resin, or even biomaterials—based on a digital design created using computer-aided design (CAD) software.

3D Print Speed

The process begins with the digital 3D model sliced into numerous thin layers. The 3D printer then follows these instructions, precisely depositing material layer upon layer, gradually constructing the physical object. This technology has found applications across a gamut of industries, including aerospace, healthcare, automotive, fashion, architecture, and more.

Types of 3D Printing Materials

3D printing materials can be categorized under:

  1. Plastics (PLA, ABS, PETG, nylon)
  2. Metals (stainless steel, titanium, aluminum, copper)
  3. Resins (standard, flexible, tough, castable)
  4. Ceramics (porcelain, stoneware, earthenware)
  5. Wood pulp with a binding polymer (Bamboo, Birch, Maple, Cherry)
  6. Composites (carbon fiber, fiberglass)
  7. Paper-based (cardboard and paper)
  8. Food-based (chocolate, dough, sugar)
  9. Bio-based (living cells and tissue)

The History

Evolution and history of 3D printing

The roots of 3D printing go back to the 1980s when visionaries like Hideo Kodama proposed methods for fabricating three-dimensional models using photopolymers solidified by UV light. Around the same time, Charles Hull pioneered stereolithography, patenting the concept in 1986. This technique employed UV light to solidify layers of liquid photopolymer resin, laying the groundwork for additive manufacturing. Subsequent decades saw the evolution of various printing methods like Selective Laser Sintering (SLS) and Fused Filament Fabrication (FFF), expanding material options and applications.

By the 2010s, 3D printing had become more accessible, integrating into industries such as aerospace, healthcare, and automotive manufacturing. Bioprinting also made strides, enabling the printing of living tissues and organs. Today, 3D printing stands as a transformative force, reshaping manufacturing, rapid prototyping, and medical advancements through its capability to produce intricate designs with precision and speed.

The advantages

Benefits of 3d printing Across Industries

Rapid Prototyping

3D printing enables quick and cost-effective prototyping, allowing designers and engineers to iterate designs swiftly, reducing time-to-market for new products.

Highly individualized products can easily be produced catering to specific needs and preferences without significantly increasing production costs.

Customization

Complex Geometry

Unlike traditional manufacturing methods, 3D printing can create intricate geometries and complex designs that would be challenging or impossible to achieve otherwise.

Additive manufacturing is inherently more efficient, as it typically uses only the materials necessary for the object being printed, minimizing waste.

Reduced Material Waste

Supply Chain Efficiency

On-demand production enabled by 3D printing reduces the need for large inventories and streamlines the supply chain by producing parts as needed.

For small batches or low-volume production, 3D printing can be more cost-effective than traditional manufacturing methods due to lower setup costs.

Cost-Effectiveness

Innovation in Medicine

Creating patient-specific implants, prosthetics, and medical models for surgical planning requires precision and customization which 3D printing delivers effortlessly.

3D printing has become an invaluable tool allowing students and researchers to visualize concepts and create prototypes to test theories in various fields.

Education and Research

2. Common Types of 3D Printing Technologies

BigRep One - Amir & Bea

Fused Filament Fabrication (FFF)

FFF is one of the most common 3D printing methods. It works by melting a thermoplastic filament and depositing it layer by layer through a heated nozzle onto a build platform. As each layer cools, it solidifies, gradually building the object. FFF is known for its simplicity, affordability, and versatility, making it popular for hobbyists and prototyping.

Stereolithography (SLA)

SLA employs a vat of liquid photopolymer resin and uses a UV laser to solidify the resin layer by layer, building the object from the bottom up. The UV laser traces the shape of each layer onto the surface of the liquid resin, solidifying it. SLA is known for producing high-resolution, detailed prints, making it suitable for applications requiring precision, such as dental and medical prototypes.

SELECTIVE LASER SINTERING (SLS)

SLS uses a high-powered laser to selectively fuse powdered material, typically nylon or other polymers, into a solid structure layer by layer. Unlike SLA or FFF, SLS doesn't require support structures as the unsintered powder acts as a support. SLS offers design flexibility and can produce complex geometries and functional prototypes with robust strength, making it common in the aerospace and automotive industries.

POLYJET PRINTING

PolyJet technology operates similarly to inkjet printing but with layers of liquid photopolymer cured by UV light. Tiny droplets of liquid photopolymer are instantly cured by UV light, solidifying it, layer by layer, onto a build tray. PolyJet printers can produce multicolor, multi-material parts with high accuracy and fine details. It's often used in industries requiring high-resolution models, such as product design and architectural prototyping.

3. Real-World Applications Across Industries

Advancing-Additive-Manufacturing-in-Aerospace_Hero

1. Aerospace and Defense

Lightweight yet durable components are the lifeblood of the aerospace and defense industry. Components like turbine blades, fuel nozzles, brackets, and even entire rocket engines can be 3D printed. This results in reduced component weight, improved fuel efficiency, and enables rapid prototyping for testing different designs.

2. Automotive

In the automotive industry, 3D printing is used for rapid prototyping, and creating functional prototypes for testing and validation before mass production. Additionally, it's utilized for manufacturing parts like engine components, interior elements, custom tooling, and even entire vehicle bodies. The technology allows for quicker design iterations and the production of complex parts, enhancing overall efficiency in the automotive manufacturing process.

Car Restoration: 3D Printed Center Console
FDM vs SLS Healthcare: 3D Printed Wheelchair

3. Medical and Dental

3D printing has transformed the medical and dental fields by enabling the production of patient-specific implants, prosthetics, and surgical tools. In dentistry, it's used to create crowns, bridges, and dental models tailored to individual patient needs. In medicine, it's utilized for creating anatomical models for surgical planning, prosthetic limbs, customized orthopedic implants, and even bioprinting tissues and organs for transplantation and research purposes. These offerings deliver personalized solutions and improve patient outcomes.

4.  Consumer goods

Embraced by leading companies across sectors like consumer electronics and sportswear, 3D printing has democratized manufacturing processes with the accessibility of industrial 3D printers. This accessibility empowers designers and engineers to delve into its immense potential. Its benefits include expediting product development through rapid prototyping, accelerating time-to-market, and enabling mass customization by efficiently catering to individual consumer preferences.

BigRep ONE 3D-Druck-Service
3D Printed Jigs and Fixtures Ebook

5. Industrial Applications

The industrial goods sector, pivotal in machinery and equipment production, grapples with the need for agility and cost-effectiveness amid escalating costs and digital advancements. To address these challenges, manufacturers turn to 3D printing for its agility, responsiveness, and innovation. Its advantages lie in rapid prototyping, on-demand production, slashing design change times, and cutting lead times by eliminating tooling requirements.

4. Seven Steps to Find the Right 3D Printer

Building on the foundation of 3D printing basics, types, and applications, you can now quickly narrow down the vast choice of 3D printers by considering factors like:

1. Type of Printer

Consider various technologies such as FFF (also called FDM), SLA, and SLS. Inexpensive desktop FFF printers may suit hobbyists, while SLA and SLS offer higher accuracy at a higher cost.

2. Cost of the Printer

Entry-level printers cost less than $500, while industrial-grade printers can go up to hundreds of thousands of dollars. Also, factor in maintenance and filament costs.

3. Printer Size and Volume

Evaluate available space and print size needs. Beginners may opt for smaller, faster printers while for industries it’s recommended to invest in large-format 3D printers.

4. Print Quality and Speed

Take resolution, layer height, and print speed into consideration. Higher resolution often means slower speed and vice versa.

5. Ease of Use

Look for user-friendly interfaces, easy calibration, automation, and reliable performance. Consider reviews for insights into reliability.

6. Support and Maintenance

Check for maintenance instructions, available replacement parts, and technical support. Some companies offer less expensive, build-your-own 3D printers while others offer a full-service package. Also look for community support as it can be a holy grail in troubleshooting your 3D printer.

7. Additional Features

Consider extras like multiple extruders for varied prints, auto-calibration, built-in cameras, touchscreen displays, proprietary 3D software, and internet connectivity based on personal needs and budget considerations.

5. The Future Of 3D Printing

BigRep PRO on MARS

3D printing holds vast unexplored potential to reshape our everyday lives by offering innovation, customization, sustainability, and efficiency through:

  1. Diverse Use of Material
    Expect a widening array of printable materials, including advanced polymers, metals, ceramics, and bio-compatible substances, expanding the scope of applications.
  2. Accessibility
    As technology progresses, 3D printing might become more accessible, affordable, and user-friendly, potentially integrating into everyday homes and workplaces.
  3. Sustainable Manufacturing
    Efforts towards eco-friendly printing using recyclable materials and reducing waste during the printing process are gaining traction, contributing to sustainable manufacturing practices.
  4. Bioprinting and Healthcare
    Advancements in bioprinting may revolutionize healthcare by facilitating the creation of tissues, organs, and medical implants, leading to personalized healthcare solutions.
  5. Integration with AI and Robotics
    The fusion of 3D printing with AI and robotics could streamline and automate the entire printing process, enhancing efficiency and precision.
  6. Space Exploration
    3D printing's potential for on-site construction using locally available materials might revolutionize space missions and support off-world colonization.

Past production advancements were typically gradual, building upon iterations by refining production lines and inventory systems. In contrast, 3D printing reimagines production at a fundamental level. It simplifies, accelerates, and streamlines the creation process using a single machine, deviating from the reliance on a string of machines.

This paradigm shift is why most industries invest in this technology, firmly believing in the promise 3D printing holds in exploring untapped industrial applications in the manufacturing sector. From the invention of the telephone to the personal computer, there have been milestones in human history when a technology has completely transformed society. Now is one of those times.

Want to learn more about Large-format Additive Manufacturing?

Download the eBook Guide to Integrate Large-Format Additive Manufacturing.

Explore how increasing the build size increases the possibilities for builds, why size matters, how to integrate, 4 applications that benefit from large-format additive, case studies from industry-leading companies like Ford, Steel Case, and more.

GUIDE TO INTEGRATE LARGE-FORMAT ADDITIVE MANUFACTURING

INDUSTRIAL QUALITY MEETS  COST EFFICIENCY.
COMPLEX PARTS IN LARGE SCALE.

The BigRep PRO is a 1 m³ powerhouse 3D printer, built to take you from prototyping to production. It provides a highly scalable solution to manufacture end-use parts, factory tooling or more with high-performance, engineering-grade materials. Compared with other manufacturing and FFF printing solutions, the PRO can produce full-scale, accurate parts faster and at lower production costs.

Explore the PRO

INDUSTRIAL QUALITY MEETS COST EFFICIENCY.
COMPLEX PARTS IN LARGE SCALE.

The BigRep PRO is a 1 m³ powerhouse 3D printer, built to take you from prototyping to production. It provides a highly scalable solution to manufacture end-use parts, factory tooling or more with high-performance, engineering-grade materials. Compared with other manufacturing and FFF printing solutions, the PRO can produce full-scale, accurate parts faster and at lower production costs.

Explore the PRO

About the author:

Natasha Mathew <a style="color: #0077b5" href="https://www.linkedin.com/in/natasha-mathew/" target="_blank" rel="noopener"><i class="fab fa-linkedin"></i></a>

Natasha Mathew

Copywriter

Natasha Mathew enjoys trying new things and one of them she’s currently obsessed with is 3D printing. Her passion for explaining complex concepts in simple terms and her knack for storytelling led her to be a writer. In her 7 years of experience, she has covered just about any topic under the sun. When she’s not carefully weighing her words, she’s reading, crafting, spinning, and adventuring. And when asked about herself, she writes in the third person.

How To Pick A 3D Scanner For The Automotive Aftermarket

3D scanner for car customization - feature image

In the realm of aftermarket car customization, automotive 3D scanners can be the overlooked workhorse that brings physical objects into the virtual space. While some car components might have readily available 3D models, designing individualized or original 3D prints needs 3D scanners to recreate an object’s geometry accurately in a simulated environment. The 3D scanner does this by capturing millions of data points from all angles of the part and in minutes you have a complete digital clone of it. This virtual version serves as a three-dimensional test bed to build and iterate concepts swiftly before going into prototyping and production.

3D Scanner car customization


Typically, large-format 3D printers come into the picture when printing car parts or bespoke components like dashboards, consoles, and door panels. Coupled with 3D scanning technology, you get visually aesthetic and highly functional parts. 3D scans seamlessly integrate with large-format 3D printers and streamline the process from the outset saving time, effort and money, resulting in exceptional print quality with fewer failed prints.

So How Do You Pick A 3D Scanner That’s A Good Fit For Your Workshop?

To get to the bottom of this, we will explore:

1. Why Is 3D Scanning Important?

3D scanning offers endless possibilities for customization with which you can design and produce components quickly with a high level of precision and accuracy.

Quality Control

The virtual 3D model can be evaluated to make sure every aspect of the part is precisely measured and is within the specified tolerances.

Reverse Engineering

A 3D scanner captures complex geometries with high-quality CAD files when none are available, improving project results by removing the guesswork.

Simpler Prototyping

Modifying and optimizing prototypes digitally before printing them ensures accuracy in producing complex shapes.

Quicker Design Cycles

Scanning the object that the 3D part is being designed for reduces production time and ensures a perfect fit of the 3D-printed part.

Accurate Measurements

Measuring the component, including details in narrow and hard-to-reach spaces, can be scanned for precise dimensions.

Cost-Effective

With 3D scanning, virtual testing reduces the need for physical prototypes. Also, the chances of fewer failed prints bring down costs significantly.

2. How Does 3D Scanning Work?

3D scanners create high fidelity, visual, three-dimensional virtual models by capturing 3D surface data from an object. It uses technologies such as Laser Triangulation, Structured Light Scanning, Photogrammetry, and Time-of-Flight Scanning to recreate the shape, color, and texture of a component digitally. Apart from bringing physical objects into the digital world, you can use the 3D data for inspection, dimensional analysis, reverse engineering, remote part replication, and CAD model validation for 3D printing.

Time-of-Flight Scanners

3. What Are the Different Types Of 3D Scanners?

There are a range of technologies for 3D scanners, and each comes with its advantages, limitations, and cost. The compatibility of different types of 3D scanners with large-format 3D printing depends on factors like scanning range, resolution, scanning speed, and the level of detail necessary for printing the vehicle’s part. Here are the different types of 3D scanners and their potential to integrate with large-format 3D printing:

3D Scanner For The Automotive Aftermarket

1. Laser Triangulation Scanner

This scanner projects a laser line or dot pattern onto the object and captures its reflection angle with sensors to replicate the shape. It is usually used for smaller objects, but it also scans the geometry of larger formats.

2. Structured Light Scanner

A Structured Light Scanner projects light in the form of lines onto the object and analyzes the field of view to generate a 3D model. It works well with large objects as it can capture complex shapes and details and has a large scanning range.

Laser Triangulation Scanners
Time of flight 3D scanner

3. Photogrammetry Scanner

Instead of using active light sources, the Photogrammetry Scanner reconstructs a 3D model digitally with multiple photographs taken from different angles. Photogrammetry is commonly used in large-scale applications like architecture and landscape scanning.

4. Time-of-Flight Scanner

The name "Time-of-Flight" may seem somewhat arbitrary for a camera-like scanner, but it gets its name from the underlying principle it is based on. This scanner emits light and measures the time it takes for the light to bounce back from the object's surface. It can capture large objects easily and is used for large-format 3D printing projects.

Time of flight scanner

4. What Is The Scan-To-Print Workflow?

Scan-to-print workflow is exactly what it says - it’s the steps involved in transforming a 3D scan into a printable model. After capturing the object using a 3D scanner, the 3D data is processed and cleaned with a specialized software. Next, the scanned model is converted into a 3D printable format like an STL file. Finally, the model is prepared for large-format 3D printing by optimizing the orientation, adding support structures, and slicing the model into layers.

STEPS FOR A 3D SCAN-TO-PRINT WORKFLOW

1. Scan the Object

With a high-precision scanner of 100 microns± accuracy, scan the object.

2. Refine the Mesh

Clean up the scan data with scanner software that’ll repair small gaps and simplify the scan.

3. Edit the Model

Refine the 3D model using CAD software by combining multiple scans if necessary.

4. Slice the
File

Translate the 3D model into instructions for the 3D printer with slicing software.

5. Prepare for Print

Set up the printer with the printing filament and configure the device's parameters.

6. Get 3D
Printing

Print the part with an industrial printer perfect for automotive customization like the BigRep STUDIO.

7. Post-Process the Part

Wrap up the process by removing support or excess material, sanding or polishing the part.

STEPS FOR A 3D SCAN-TO-PRINT WORKFLOW

1. Scan the Object

With a high-precision scanner of 100 microns± accuracy, scan the object.

2. Refine the Mesh

Clean up the scan data with scanner software that’ll repair small gaps and simplify the scan.

3. Edit the Model

Refine the 3D model using CAD software by combining multiple scans if necessary.

4. Slice the File

Translate the 3D model into instructions for the 3D printer with slicing software.

5. Prepare for Print

Set up the printer with the printing filament and configure the device's parameters.

6. Get 3D Printing

Print the part with an industrial printer perfect for automotive customization like the BigRep STUDIO.

7. Post-Process the Part

Wrap up the process by removing support or excess material, sanding or polishing the part.

5. What Type of 3D Scanner Is Best for Aftermarket Automotive Customization?

3D scanner for car- structured light

For aftermarket car customization and large-format 3D printing workflows, two commonly used 3D scanning technologies are Structured Light Scanning and Laser Triangulation Scanning. Structured Light gives you high accuracy, making it the perfect choice for capturing intricate car details. While Laser Triangulation captures the overall shape and geometry of larger subjects like car bodies.

A handheld 3D scanner using Structured Light or Laser Triangulation would be the answer for your automotive scanning needs. Handheld 3D scanners offer mobility and flexibility, allowing you to scan objects directly from the car or at any location the vehicle is at. This comes in handy for on-site customizations or restoration projects.

When selecting a handheld 3D scanner, consider factors like scanning accuracy, resolution, ease of use, compatibility with different surface types (reflective or transparent surfaces), and the software used for data processing.

Print Your 3D Scans to Life

2019-10-19_BigRep-Studio-G2_DSC8837_2000px_sRGB

Now it’s time for your design to come to life layer by layer.

This is where BigRep 3D Printers come in. Learn how our 3D printers can give you the transformative power of creating custom car parts that were once concept in your garage. Contact our team today, let us help you THINK BIG!

GRADUATE FROM DESKTOP. GET INDUSTRIAL.

The BigRep STUDIO G2 gets 3D printing off your desk and takes it to the next level. Operating with the same ease as a desktop 3D printer and with 10 times the build volume, the STUDIO G2 provides large-scale industrial manufacturing capabilities in a compact “fits everywhere” build.

Explore the STUDIO

About the author:

Natasha Mathew <a style="color: #0077b5" href="https://www.linkedin.com/in/natasha-mathew/" target="_blank" rel="noopener"><i class="fab fa-linkedin"></i></a>

Natasha Mathew

Copywriter

Natasha Mathew enjoys trying new things and one of them she’s currently obsessed with is 3D printing. Her passion for explaining complex concepts in simple terms and her knack for storytelling led her to be a writer. In her 7 years of experience, she has covered just about any topic under the sun. When she’s not carefully weighing her words, she’s reading, crafting, spinning, and adventuring. And when asked about herself, she writes in the third person.

Cookie Consent with Real Cookie Banner