How to Choose Which Features You Need on a Modular BigRep ONE

The BigRep ONE is a modular large-format FFF 3D printer designed to produce high-quality, long-lasting parts while saving you time and money. With a massive build volume of one cubic meter and versatile modular feature configurations, it’s perfect for a wide range of applications, including prototypes, furniture design, creative exhibitions, automotive components, tooling, and more.
The latest version, the BigRep ONE.4 can be configured with various modes and add-ons. Customize the specific large-format 3D printer for your current needs, while you also have the possibility to upgrade as those needs change in the future. It’s important to understand the BigRep ONE’s standard features and capabilities as a modular 3D printer, so you can adjust the ONE to meet your specific Additive Manufacturing needs.
Which Features Does the BigRep ONE.4 Already Have?
The newest iteration of the BigRep ONE has an array of fantastic features that give you full control over your prints.
Massive Print Volume
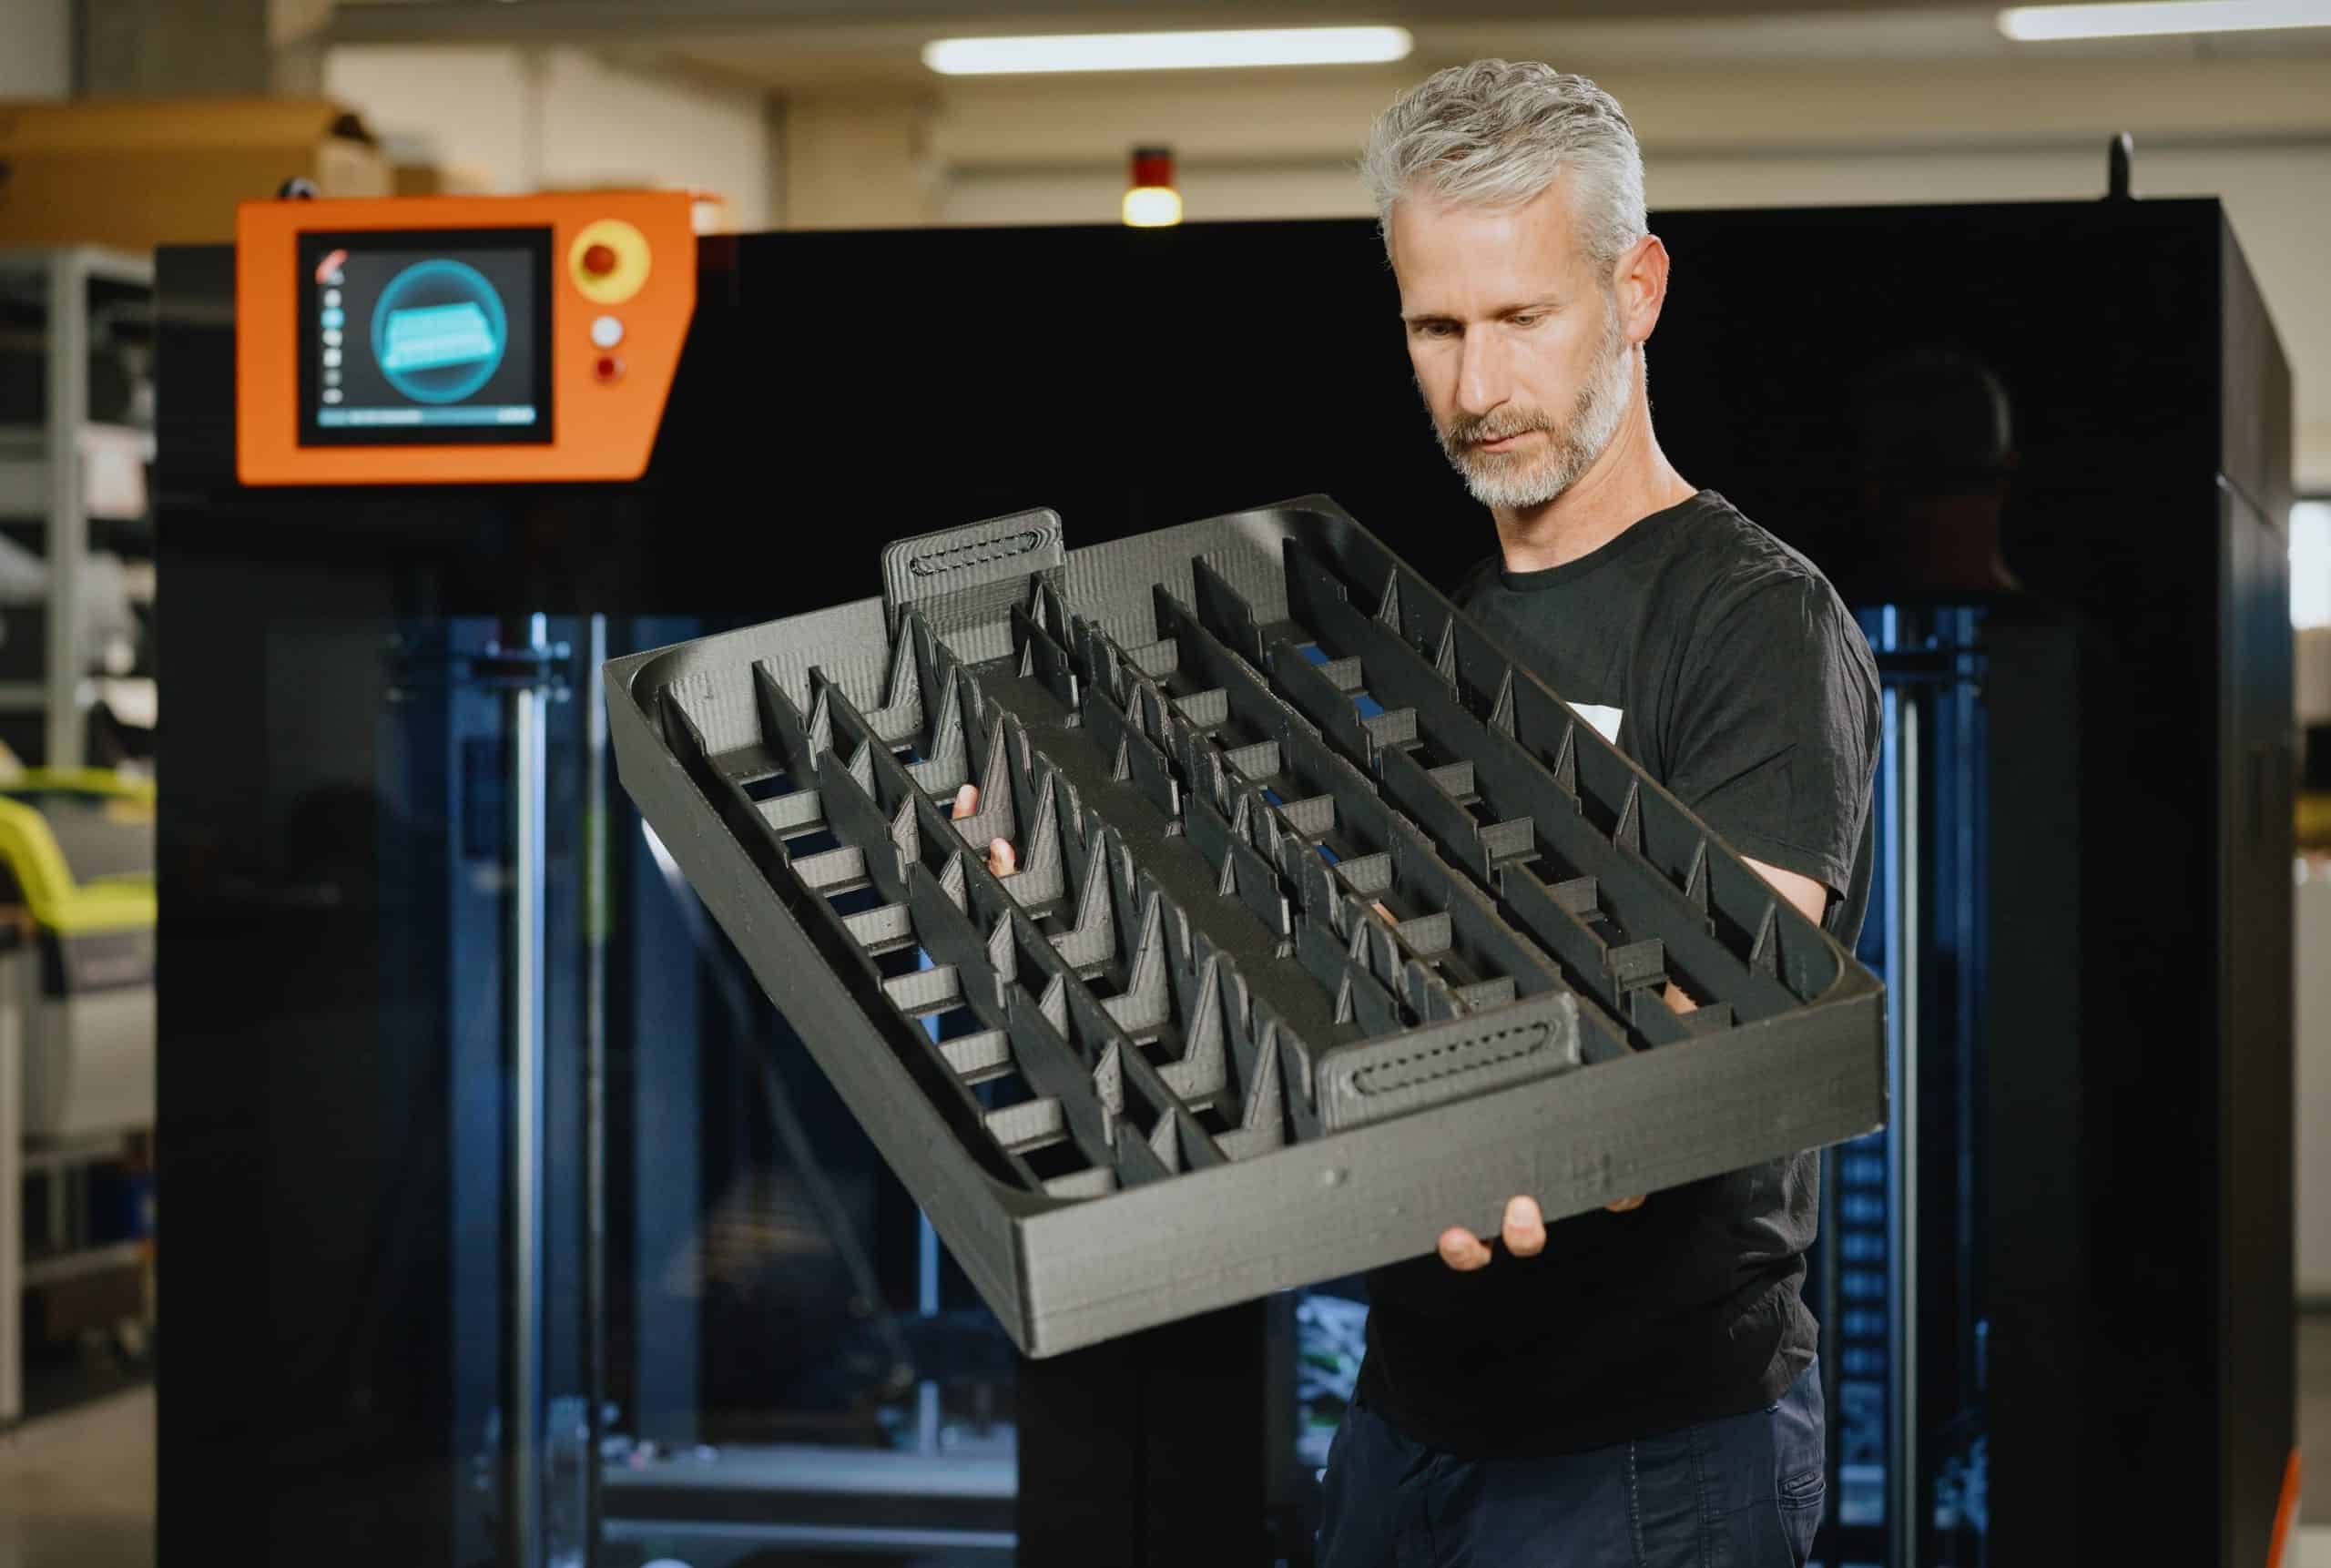
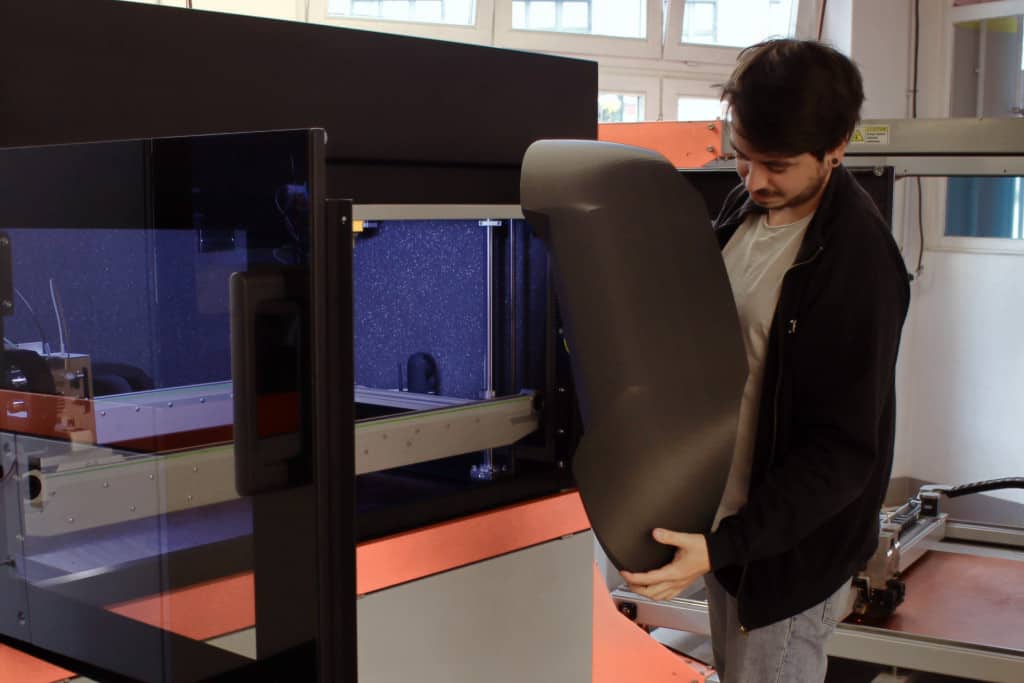
The ONE.4’s massive one cubic meter build volume firmly establishes it as one of the biggest 3D printers in FFF manufacturing, giving you the ability to unleash your potential in a way that smaller printers simply cannot achieve.
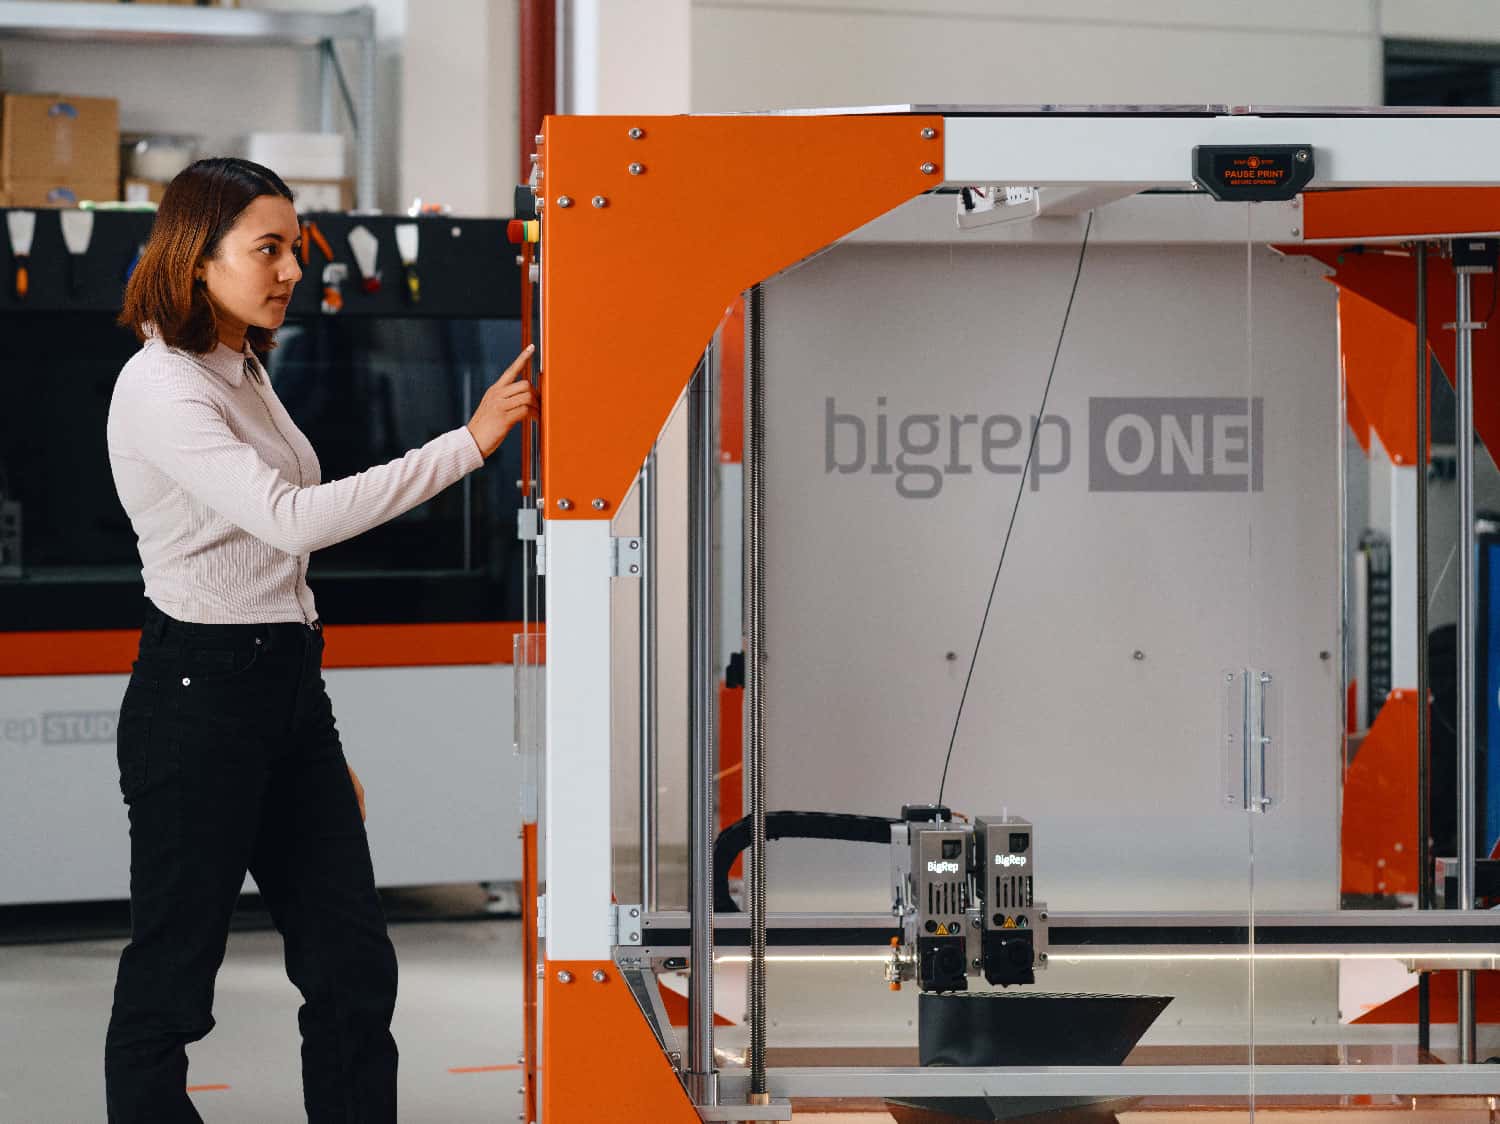
Enclosed Safe Frame
The ONE.4 has a plexiglass enclosure, perfect for monitoring print progress as well as showing your work to any potential visitors. It also provides CE-compliant operator protection: if you open the enclosure mid-print, the machine will stop running. The enclosure reduces temperature fluctuation within the build volume, which is important for maintaining quality and consistency, especially during longer prints.
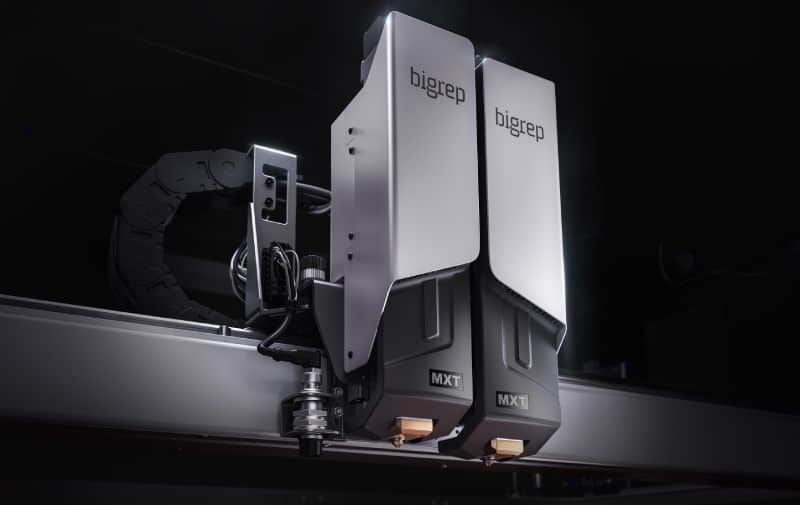
PEX Fiber-Ready Extruder
Featuring 0.6mm, 1.0mm, or 2.0mm nozzles, the fiber-ready Power Extruders (PEX) provide versatile solutions from maximum detail to high-flow 3D printing. While producing amazing results with BigRep materials including biopolymers, water-soluble support, engineering-grade materials, and fiber–reinforced filaments, the fiber-ready Power Extruder is open for printing with 3rd party materials.

Semi-Automated Print Bed
The 1M2 print bed is covered with polyimide foil to ensure that your print stays fixed to the print bed, with additional adhesion possible with glue such as Magigoo. The ONE.4 features semi-automatic print bed calibration to ensure proper extrusion and adhesion of the first layers of your print. For fully automatic calibration and even more control, however, it’s worth checking out the BigRep PRO.
Out-of-Filament Sensor
The BigRep ONE’s out-of-filament sensor pauses all prints when you are out of filament, essential for large prints that may use up multiple spools. Simply replace the filament and continue your print.
Intuitive User Interface
For full optimization and calibration of your print, the BigRep ONE is equipped with an intuitive user interface. It helps you remotely load gcodes onto the system, or manually with a USB stick, calibrate the print bed, stop and start operations, and monitor systems in conjunction with BigRep CONNECT.

Filament Enclosure
The filament enclosure has been designed to fit all standard spool sizes, including two spools up to 8kgs. This allows for longer, more continuous printing time.
Standard Camera
For extra-large prints that can take days or even weeks, it’s important to be able to monitor your prints remotely from your computer, tablet, or mobile device. The ONE.4 comes with a webcam attached to your printer, allowing for worry-free prints. The camera also allows you to make time-lapse videos, which can be useful for boosting your marketing outreach.
Which Configuration Works for Me?
The ONE.4 is customizable to meet your specific needs, which begins with the extruder combination you choose.

SINGLE MODE
Single Mode is the most affordable option, a basic configuration with a single Power Extruder and a 1mm nozzle. This option is great for prototyping and testing large-scale prints on a lower budget, however, water-soluble support isn't possible in Single Mode.


DUAL MODE
Our most popular configuration is Dual Mode, which allows for dual extrusion. This is perfect for producing complex geometries when you need water-soluble support for easy removal after printing. Some customers prefer to keep different nozzle sizes on either PEX to avoid swapping out nozzles for different prints. Another advantage of dual extruders is having two different primary materials readily loaded for fast switching between filaments.

TWIN MODE
Twin mode is perfect when you want multiple prints of the same geometry, speeding up your output by 100% and doubling your production. As both extruders work simultaneously, you can print two versions at once, cutting costs and reducing time-to-part by 50%. With Twin Mode, each extruder can print within one-half of the build volume, so Dual or Single Mode is required for larger prints needing build volumes over 0.5m2.

Which Additional Add-Ons Are Available?
The BigRep ONE is a modular printer, so you can choose features to optimize your 3D printer based on your specific needs. Here are the useful add-ons that you may want to consider:
Keep-Dry Add-On
If you want to improve quality and make the highest-quality prints possible, then it’s important to keep your materials dry, particularly engineering-grade and hygroscopic filaments. The keep-dry box protects filaments from environmental moisture and dust, which is especially important for materials such as TPU, BVOH, and HI-TEMP.

Connected Camera
For additional peace of mind, the ONE.4 can be equipped with a USB camera and integrated into BigRep CONNECT, a new monitoring and analytics software that lets you keep track of prints, job queues, material usage, and more... plus, BigRep CONNECT is free.
Dual Mode Add-On
If you already have Single Mode, you can upgrade to as your needs change to print with two extruders instead of one. This is also necessary to install first if you want to print in twin mode.
Twin Mode Add-On
If you have Dual Mode already enabled, the twin kit add-on allows you to upgrade to twin mode as well.
Custom Color
The BigRep ONE is easily identifiable with its trademark orange corners, but you can rebrand your ONE.4 with the custom color add-on to match your company's color scheme or corporate identity.

Three Different Personalities of the BigRep ONE
In the race for 3D printing success, knowledge is half the battle. Understanding the full capabilities of the ONE should give you an indication of which features you need to get the most out of your 3D printer. It’s always worth considering exactly what your aims are before tailoring the ONE to meet those desires. To give you an indication, we have three potential combinations you could work with:
The Sprinter
As the name suggests, the Sprinter is all about speed and is great for ramping up output of batch production. Once design and calibration, material usage, and bed-leveling are set, the Sprinter works quickly and efficiently to simultaneously produce two identical parts. A Sprinter setup could include the Twin Mode extruder configuration with a 1.0mm nozzle, doubling production capabilities, and a CONNECT camera to monitor 3D prints over long periods.
The Essentials
When you want a large-format 3D printer at a smaller price, you may want only the Essentials. Opt for a no-thrills, all-business Single Mode ONE.4 configuration perfect for rapid testing and production. The Essentials includes a single fiber-ready Power Extruder with a 1.0mm nozzle. Perfect for beginners, it's a robust solution at minimal cost.
The Perfectionist
The Perfectionist is a ONE.4 configuration suited for applications requiring the best quality using materials that deliver. For complex geometries, Dual Mode is recommended to enable the ONE.4 to print water-soluble support, like BigRep BVOH, together with a range of compatible materials. To keep sensitive materials in optimal condition, add on the Keep-Dry Box to protect filaments from environmental moisture and dust. For maximum detail, this Perfectionist approach utilizes a 0.6mm nozzle for finer-quality prints and lower layer heights.
Don’t Limit Yourself
In the 3D printing world, there are no limitations to what you are capable of. With the BigRep ONE, you are given the opportunity to create a 3D printer completely in line with what you want to achieve.
As your 3D printing needs evolve, simply upgrade your ONE with additional features to grow along with you. If you need a custom solution for your needs, please feel free to contact our team today.


LARGE-SCALE INNOVATION. LIMITLESS CREATIVITY.
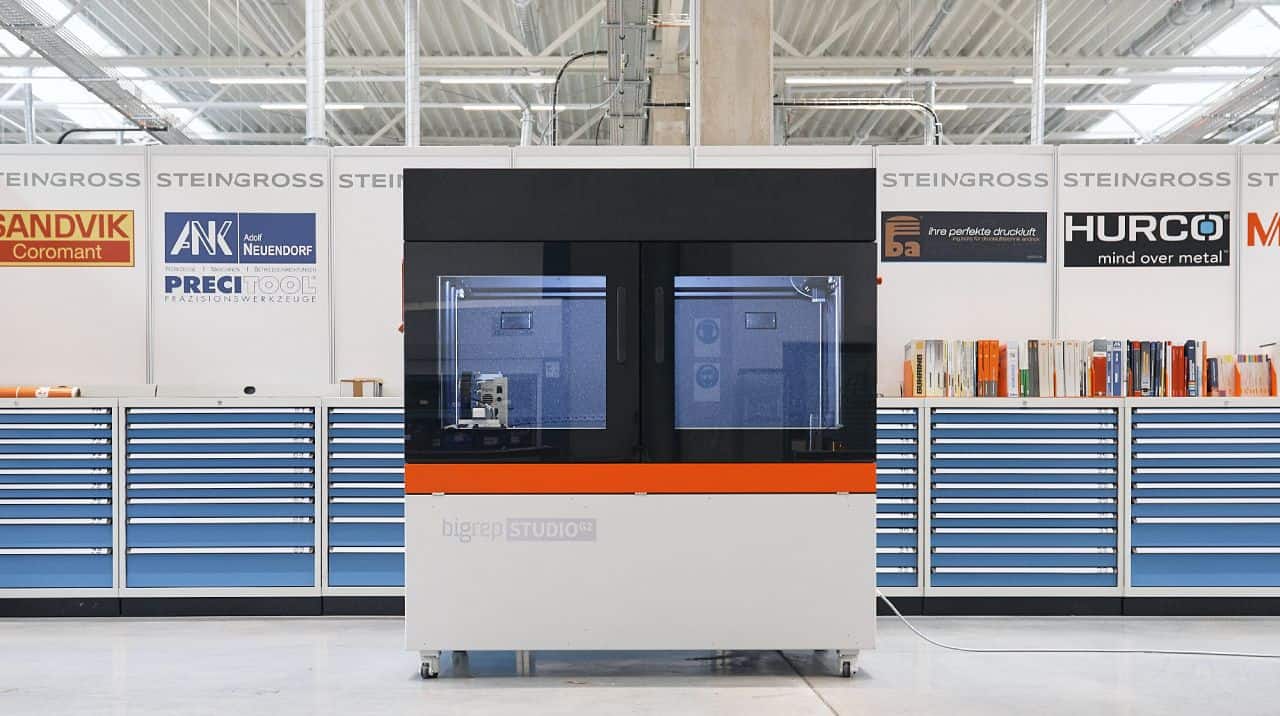
The BigRep ONE is an award-winning, large-format 3D printer at an accessible price point. With over 500 systems installed worldwide, it's a trusted tool of designers, innovators, and manufacturers alike. With a massive one-cubic-meter build volume, the fast and reliable ONE brings your designs to life in full scale.
LARGE-SCALE INNOVATION. LIMITLESS CREATIVITY.
The BigRep ONE is an award-winning, large-format 3D printer at an accessible price point. With over 500 systems installed worldwide, it's a trusted tool of designers, innovators, and manufacturers alike. With a massive one-cubic-meter build volume, the fast and reliable ONE brings your designs to life in full scale.
About the author:

")

")


")